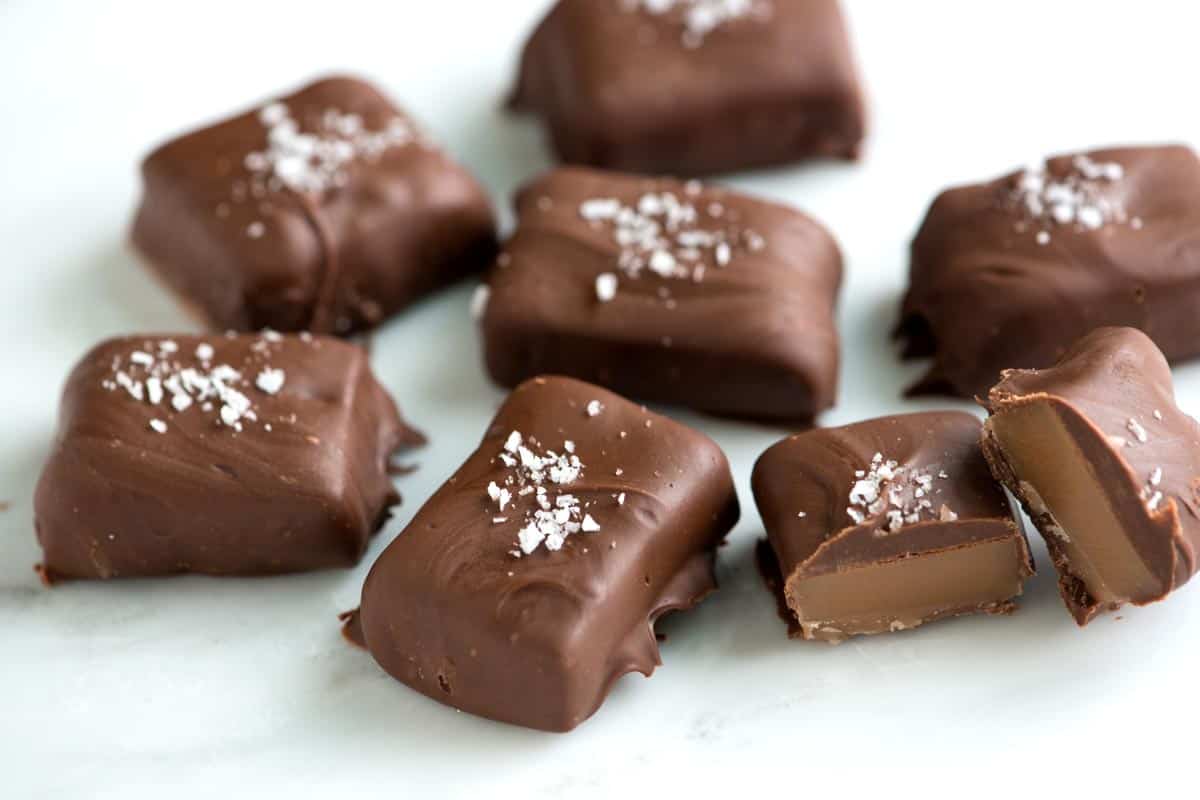
Making homemade salted caramels is easier than you think, and they taste incredible! With just a few simple ingredients and my easy-to-follow recipe, you’ll be gifting (and enjoying!) these soft, melt-in-your-mouth caramels in no time.
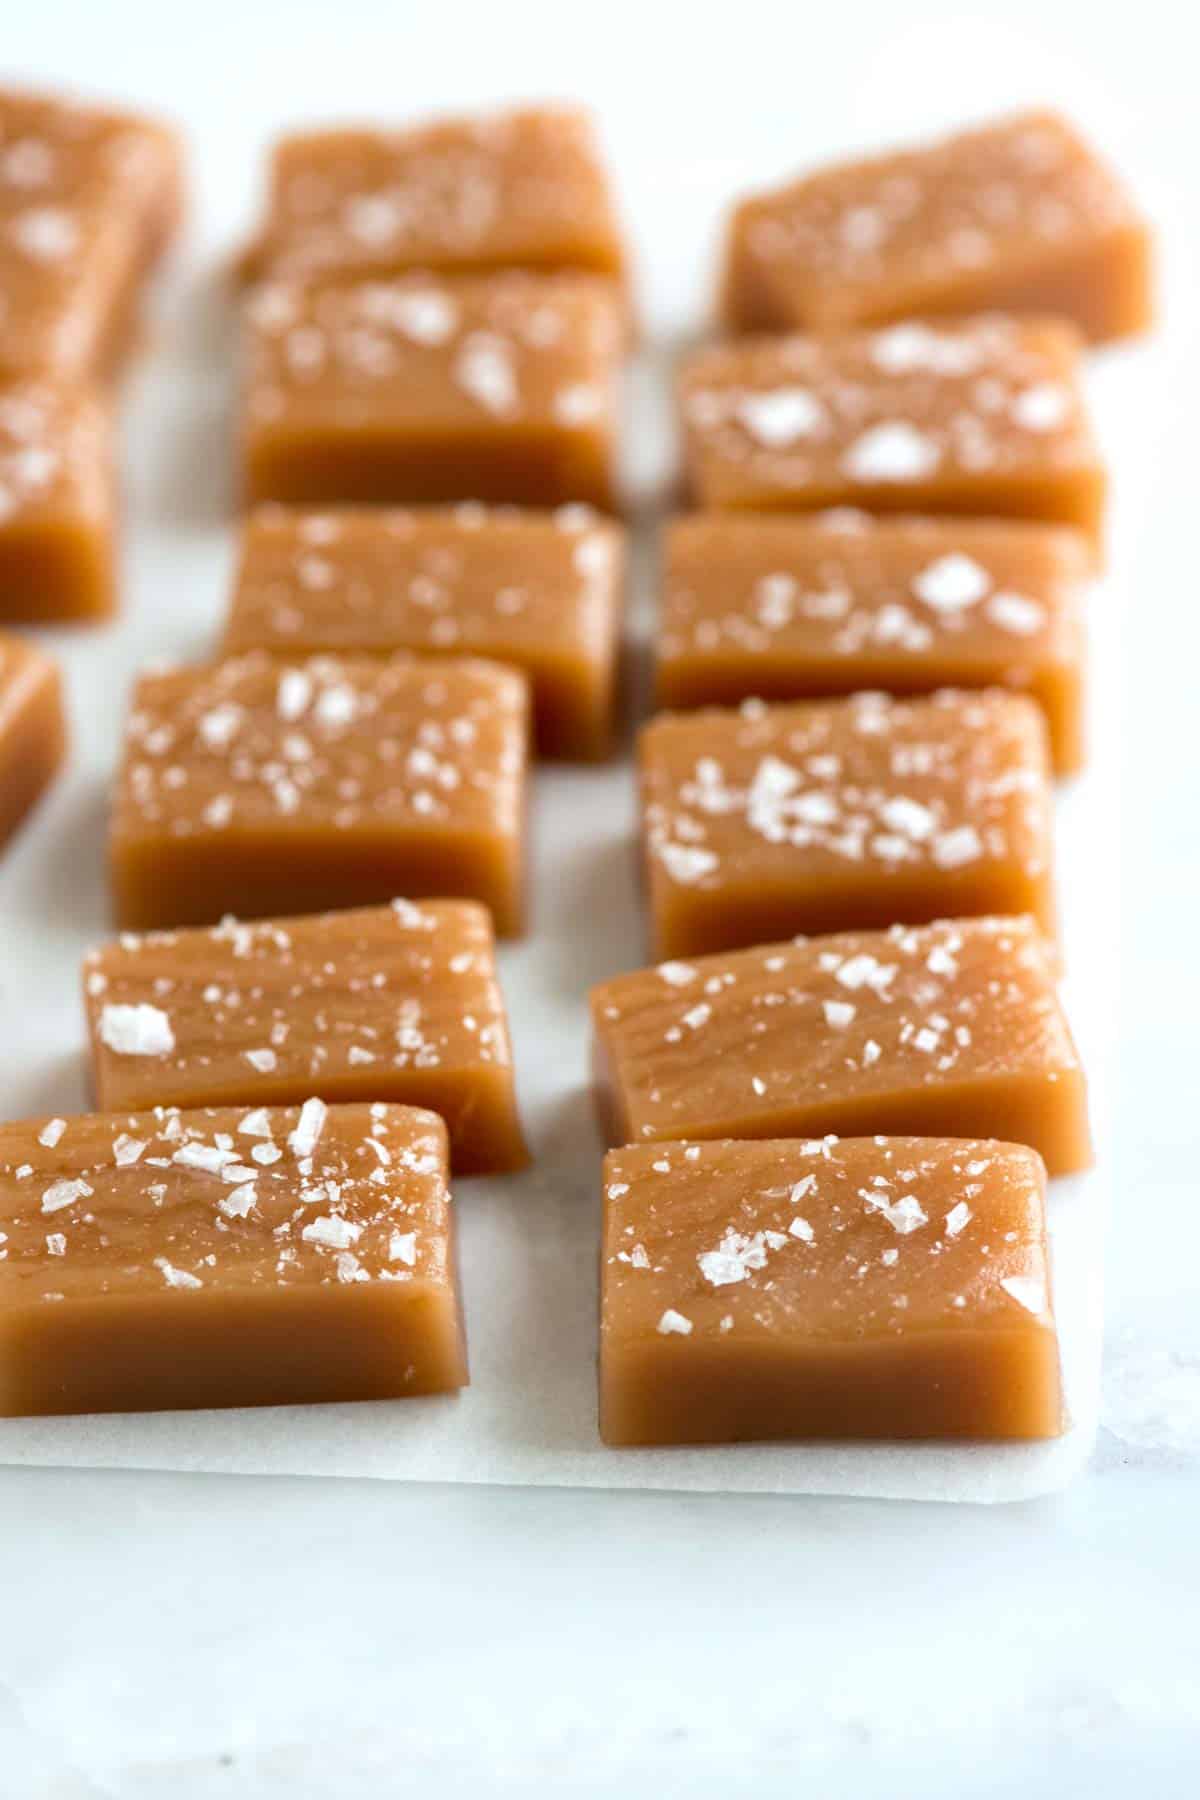
This salted caramels recipe makes soft, chewy caramels that perfectly melt in your mouth. We shared this recipe years ago, and it’s been a hit with hundreds of home cooks. Making caramels at home is easier than you think, and I’ve included everything you need to know to make it a success!
This caramels recipe is so versatile! You can use it to make chocolate covered caramels. Or for an easy sauce, try my homemade caramel sauce recipe.
Key Ingredients and Equipment
- Sugar: Plain granulated sugar is best for this recipe.
- Light Corn Syrup: I don’t use it much in our other recipes, but light corn syrup is key for getting the best, most consistent results with caramels. While I find corn syrup more reliable, I have successfully used pure honey or golden syrup in this recipe.
- Butter: I use salted butter for these caramels because the extra salt makes them taste even better (something I’ve learned over the years since originally sharing this recipe). If you only have unsalted butter on hand, add 1/4 teaspoon of fine salt to the butter and cream mixture.
- Heavy Cream: To make these caramels nice and soft, you’ll want to use cream with a higher fat percentage. In the US, look for “heavy cream” or “heavy whipping cream,” as both have at least 36% butterfat (plain whipping cream has less). For my friends in the UK and Australia, use “double cream” or “thickened cream” with at least 35% fat content.
- Salt: To turn these into salted caramels, I sprinkle a fancier salt, like flaked or grey sea salt, over them as they cool.
- Equipment: You’ll need a candy thermometer (highly recommended for success!) and a small, heavy-bottomed saucepan. Thinner, less expensive pots can scorch the caramel mixture and cook it unevenly. Since this is a smaller batch recipe, I like using my 2-quart All-Clad saucepan. Finally, I use a standard 9×5-inch loaf pan to cool the caramel.
How to Make Salted Caramels
Before starting your caramel-making adventure, familiarize yourself with the recipe and gather all your equipment and pre-measured ingredients. Candy-making can be fast-paced, and being prepared is key to achieving the best results.
Begin by combining the butter and cream in a small pot and heat until the butter melts. You can also do this in the microwave! Set this mixture aside. By the way, if you want to add any additional flavors to your caramels, add them to this mixture. Think vanilla beans, culinary lavender, and espresso powder. I’ve even added a little pumpkin pie spice before.
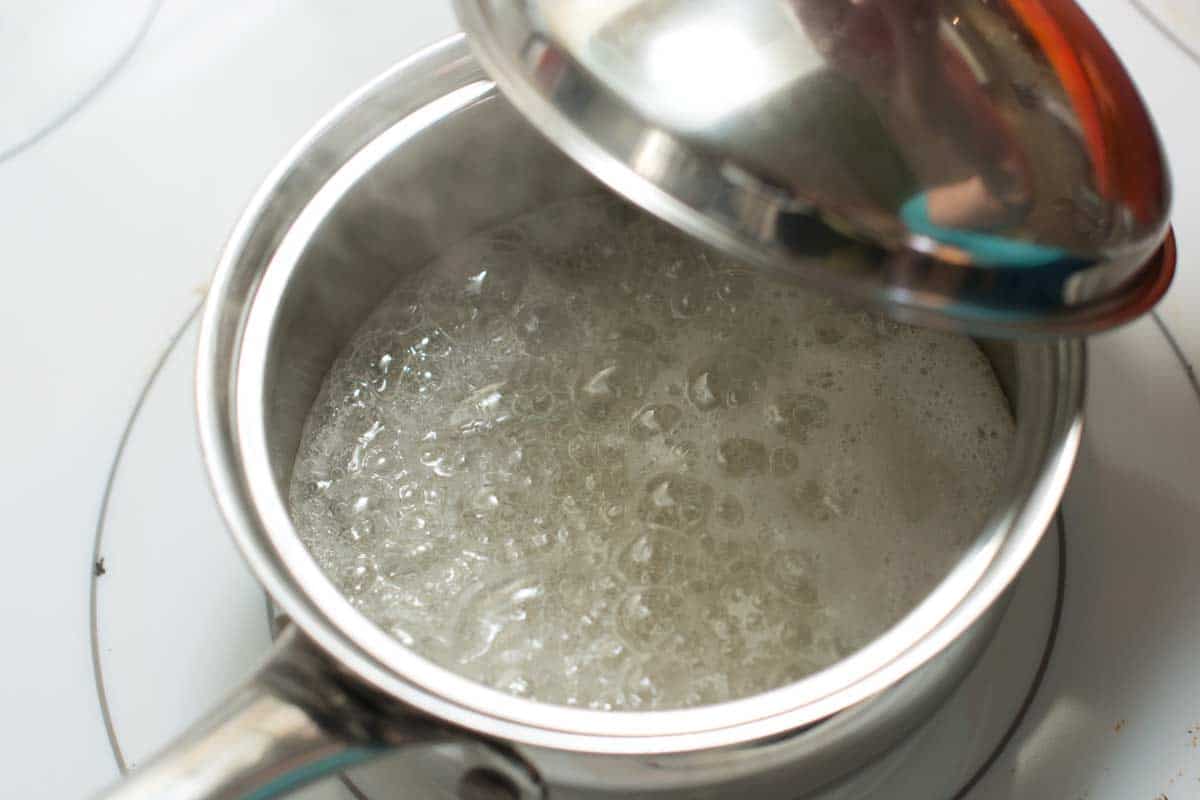
Now, combine the sugar, corn syrup, and a splash of water in your saucepan. Heat it over medium heat until it boils. Once boiling, cover the pan with its lid for one minute. This step may seem minor, but it helps prevent crystallization, a common caramel-making issue. The trapped steam encourages sugar stuck to the sides to melt back into the mixture, potentially saving your caramels from disaster!
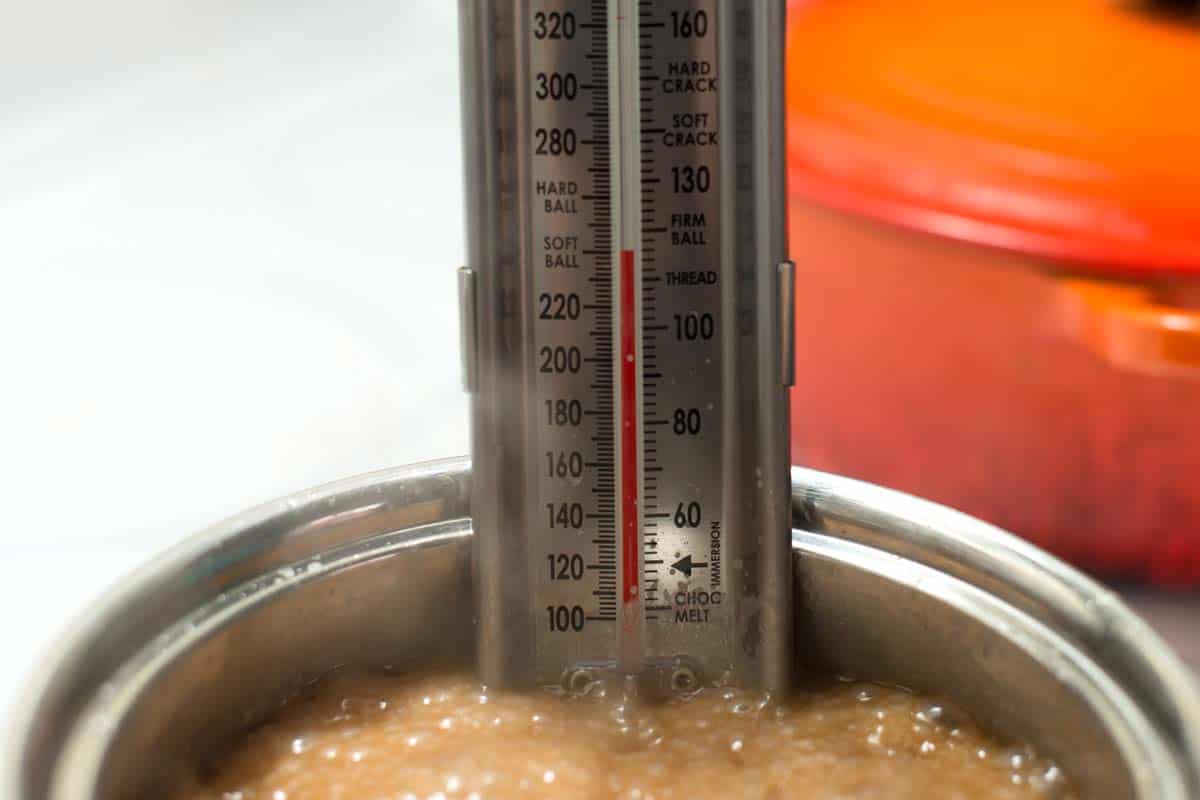
Uncover the pot and cook the sugar mixture until your candy thermometer reaches 320°F. This temperature ensures the best color and flavor for your caramels.
Now that you’ve achieved caramelization, it’s time to transform the mixture into a luscious caramel sauce. Gradually pour in the melted butter and cream mixture in batches. Expect some vigorous bubbling when adding the cream. Trust me, this is perfectly normal! Once all the cream is incorporated, continue cooking until the mixture reaches 240°F.
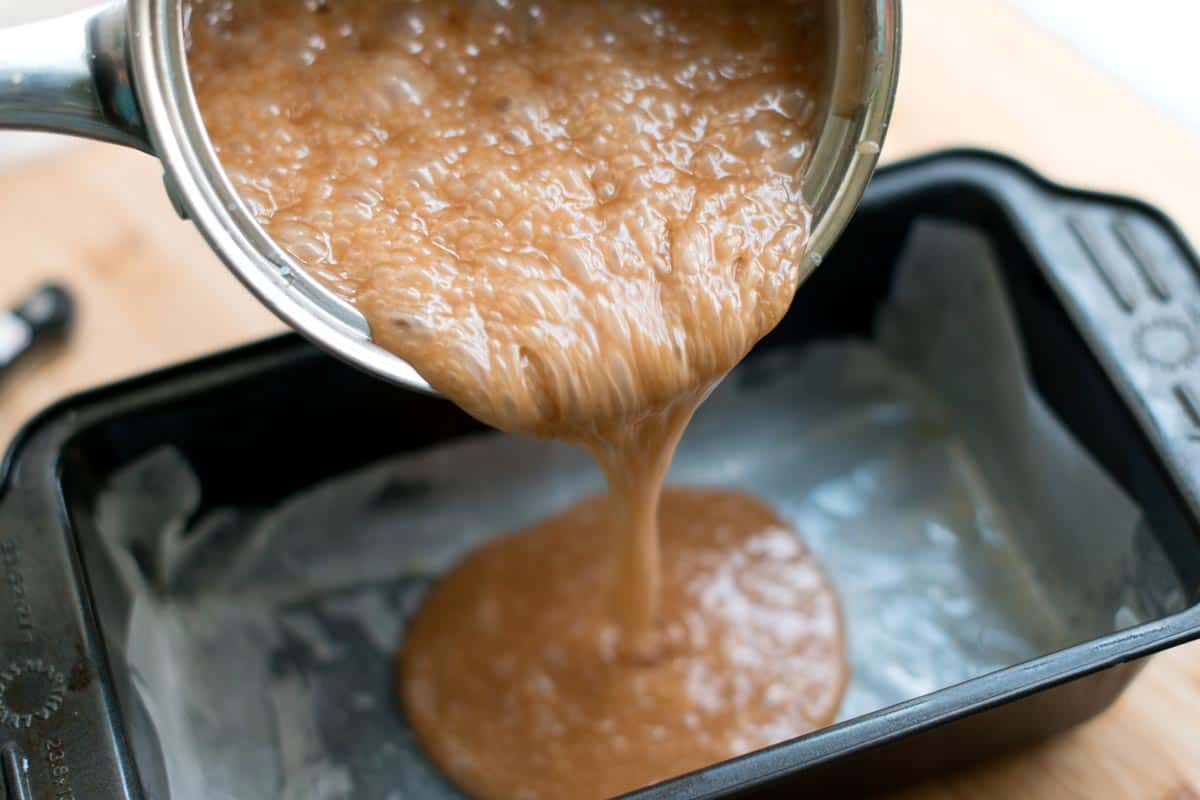
Then, pour it into a lined loaf pan to cool and solidify into those irresistible, soft, and chewy caramels you crave.
About 20 minutes into cooling, you can scatter your salt over the caramels. Then allow it to cool completely (a few hours) before cutting it into caramels.
I have one more tip for you. Cleaning the pot and candy thermometer after making caramels can be a little sticky.
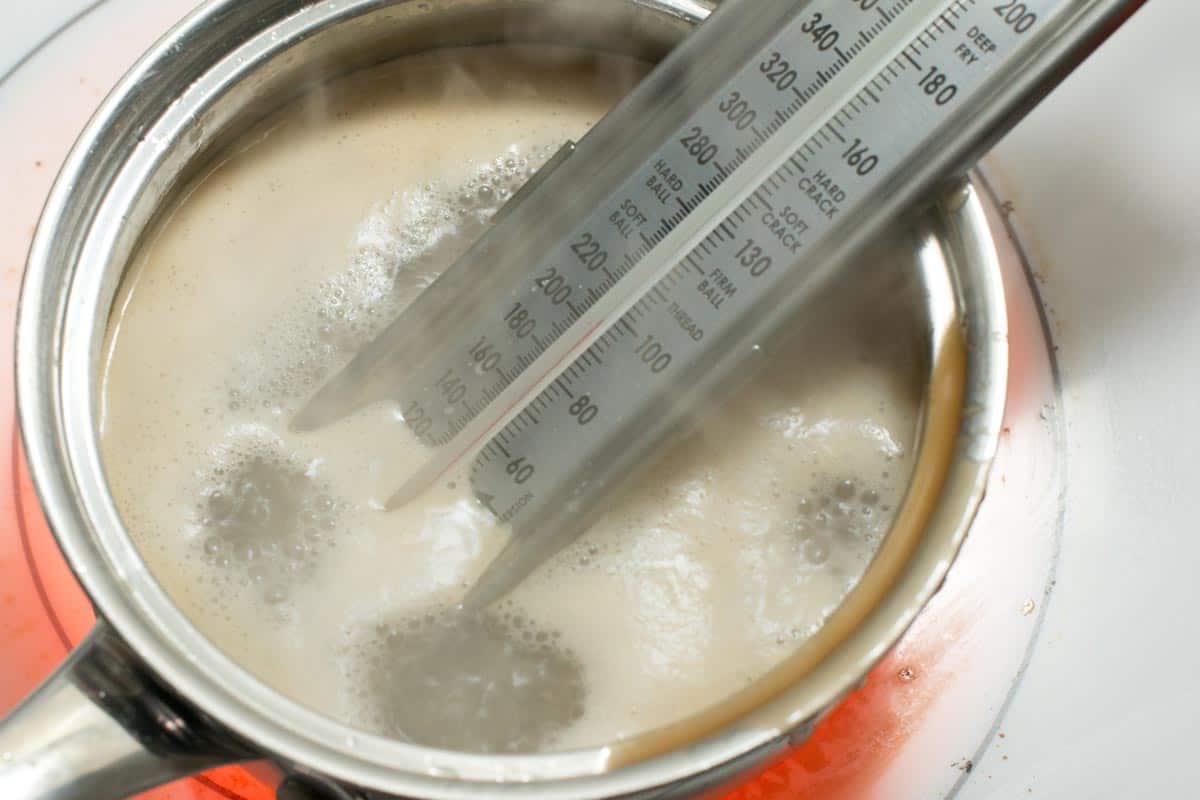
From our experience, we’ve found that if you add water to the pan and bring it to a boil, the caramel stuck to the sides of the pan will melt away. You can also add the candy thermometer to the boiling water to remove sticky caramel from the bottom. So much easier than scrubbing!
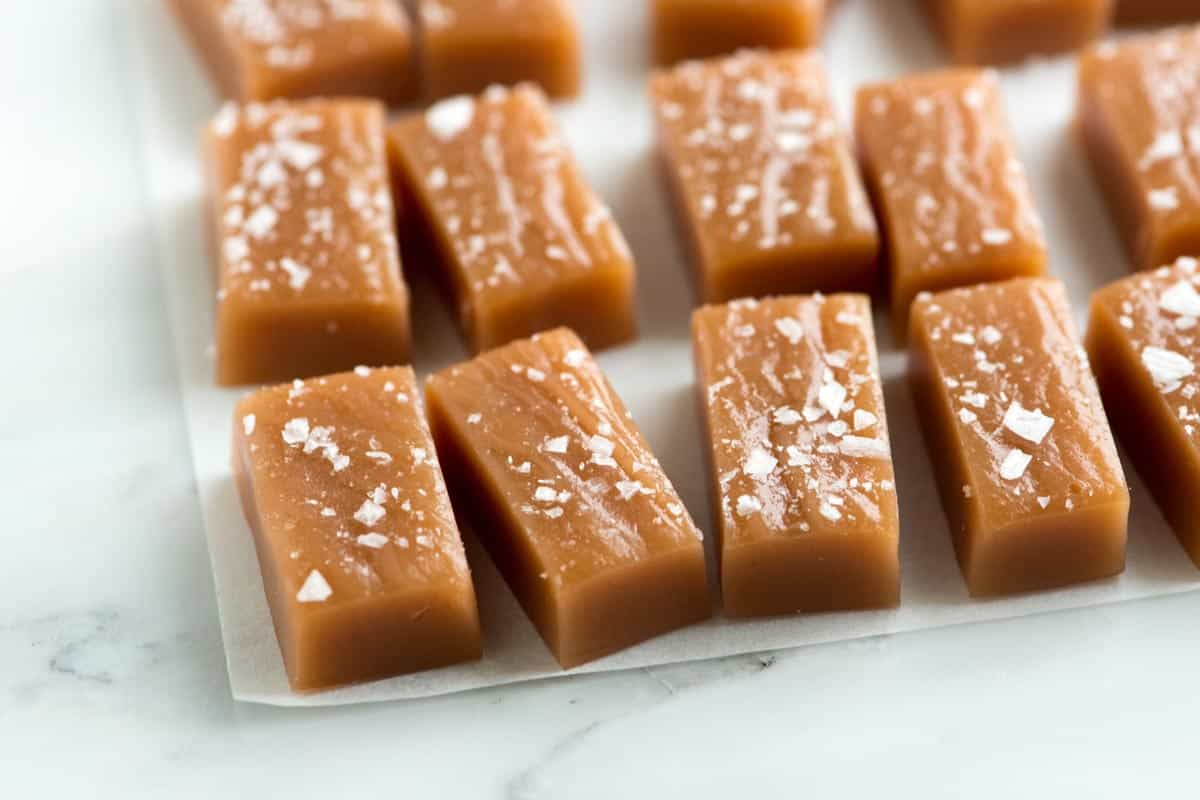
Homemade Salted Caramels
- PREP
- COOK
- TOTAL
These homemade salted caramels are soft, chewy, and melt in your mouth. Before making our salted caramel recipe, gather the equipment and measure the ingredients. A candy thermometer is essential for this recipe’s success.
Watch Us Make the Recipe
You Will Need
1/2 cup (113g) butter
1/2 cup (120ml) heavy cream or heavy whipping cream (36 to 40% butterfat content)
3 tablespoons (44ml) water
1/4 cup (60ml) light corn syrup
1 cup (200g) sugar
1/2 teaspoon flaked sea salt, like Maldon
Directions
1Start by lightly oiling a 9×5-inch loaf pan. Cut a piece of parchment paper to fit inside the pan with at least an inch overhang on the sides. Lightly oil the parchment paper, place it in the pan, and set aside.
2Cut the butter into 8 pieces, then add to a microwave-safe bowl. Add the heavy cream. Heat in the microwave for 1 to 2 minutes until the butter melts and the mixture is hot. Set this aside for later use.
3In a small saucepan, combine the water and corn syrup. Add the sugar, being careful not to splatter it on the sides of the pan. Gently stir the sugar into the water and corn syrup, just enough to moisten it.
4Heat the mixture over medium heat until the sugar boils. Cover with a lid for 1 minute to create steam, which helps any sugar stuck to the sides melt back into the mixture.
5Remove the lid and attach a candy thermometer to the side of the saucepan. Cook the sugar until it reaches 320°F (160°C) and turns a light amber color around the edges, 5 to 10 minutes.
6Carefully and slowly pour about a sixth of the butter and cream mixture into the sugar, stirring with the base of the thermometer to incorporate it.
7Repeat with the remaining cream and butter, adding it in small batches and stirring between each addition. The mixture will bubble vigorously, so proceed cautiously to prevent it from overflowing.
8The temperature will drop after you add the cream and butter. Continue cooking until the caramel reaches 240°F (115°C), 5 to 10 minutes.
9Once you reach 240°F (115°C), carefully pour the caramel into the prepared loaf pan.
10Let it cool for about 20 minutes, then sprinkle with the salt. Then, allow the caramel to cool completely (about 3 ½ hours).
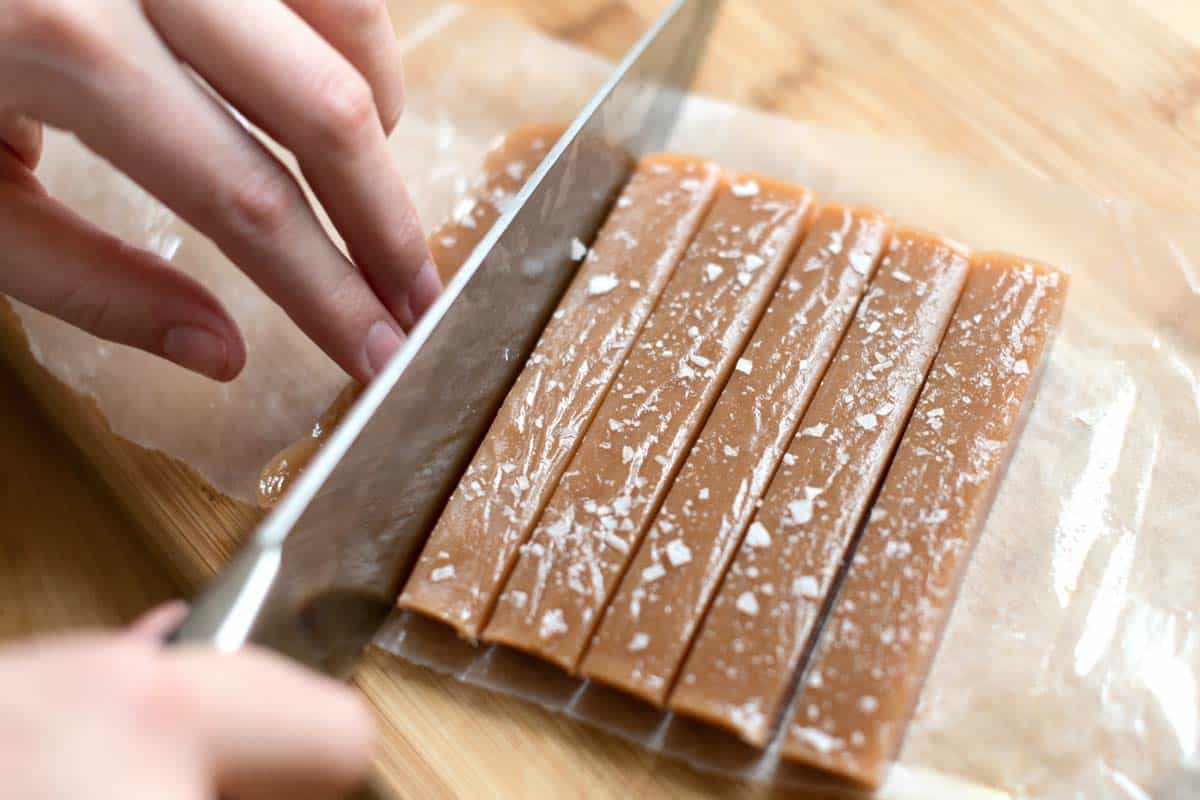
11Unmold the caramel. If it’s too soft to handle, refrigerate it for 30 to 45 minutes to firm up. Use a large, sharp knife to cut the caramel into your desired shape. We like 1-inch by 1/2-inch rectangles.
12Wrap the caramels individually in plastic wrap or waxed paper. Enjoy them immediately, refrigerate them for up to two weeks, or freeze them for up to a month.
Adam and Joanne's Tips
- Equipment I use: I use a standard candy thermometer (a Taylor thermometer is shown in the video and photos) and a 1 ½ to 2-quart heavy, thick-bottomed saucepan (I love my All-Clad D5 2-quart).
- Corn syrup substitutes: Corn syrup is reliable in this recipe. However, we have had success substituting with pure honey and golden syrup.
- Salted butter: After years of making these, I prefer salted butter. If you have unsalted butter, add 1/4 teaspoon of fine salt. You can also use unsalted butter, which we use in the video.
- Softer caramels: This recipe makes soft and chewy caramels. For softer caramels, experiment by adding 2 to 4 more tablespoons of cream.
- Firmer caramels: This recipe makes soft and chewy caramels. For slightly firmer caramels, instead of cooking the caramels to 240°F (115°C), cook to 245°F (118°C).
- Doubling the recipe: I generally don’t recommend doubling this caramels recipe. Doubling the recipe can make it difficult to control the temperature accurately, which is crucial for achieving the right texture and consistency in caramels. If you need a larger quantity, it’s best to make multiple batches. However, if you’re experienced with candy-making and have a large enough pot, you can try doubling the recipe. Just be extra vigilant about monitoring the temperature and adjusting cooking times.
- This recipe has been inspired and adapted from Jacques Pépin’s book, “Chez Jacques: Traditions and Rituals of a Cook.”
- The nutrition facts provided below are estimates.


Recipe sounds awesome.I hope to try it this next week for treats for my clients. Can you tell me if I want chopped walnuts in this When would I add those?? Thx!
Hi Susan, I’d add them right at the end (off the heat) before pouring into the pan.
Hello! After I cut and individually wrap the caramels in wax paper, could they just sit out in a candy jar? Would they be safe at room temperature?
Thank you!
I’ve been making caramels for quite a few years…the lid trick and waiting to add the cream and butter make this a reliably great recipe. Thank you!
Amazing recipe! Everyone I know begs me to make more. HOWEVER, my advice to fellow experimenters out there is, DON’T try maple syrup as a corn syrup alternate, it’s not listed for a reason! I made it the other day, and it came out TASTING delicious, but the sugar in the maple syrup seems to work differently on a chemical level, and the final result is gritty like sand and more like a sticky brown sugar. Overall, I absolutely recommend, I find myself making this recipe more than I’d like to admit! Thank you so much for such great caramels 🙂
Hi Adam and Joanne, I have made your caramels twice now covered in melted chocolate and topped with toasted pecan, they are delicious. I subbed the corn syrup and white sugar for raw honey and raw sugar and added vanilla to the cream mix, both times came out perfectly with your detailed instructions. Question, can I add more cream or butter or drop the sugar amount as I’m not a massive sweet tooth and these would be so perfect for me if they were less sweet and more buttery (though they are perfect as is, just personal preference)? I am not sure if adjusting the amounts would result in a major failure. Thanks so much.
Loved this easy to follow recipe video. Wonderful instruction, thank you!
Oh goodness, I forgot heavy cream at the store. Is there any chance that half n half will work?
Hi Kelley, Unfortunately, you need the fat in the cream for this recipe to work out.
can you dip apples in these and use for caramel apples?
Hi Donna, Great question, but I’ll be honest, I’ve never tried! If you do, I’d love to hear how they turn out.
Wondering if adding the sugar to the saucepan first, then adding the combined water& corn syrup would help eliminate any crystallization?
It’s up to you, but the lid trick will prevent it.
OMG! The best caramel recipe ever! I made them exactly as the recipe says to. Perfect texture. An exposion of smooth buttery sweetness in your mouth.
Hi Nancy, We are so happy you enjoyed them!