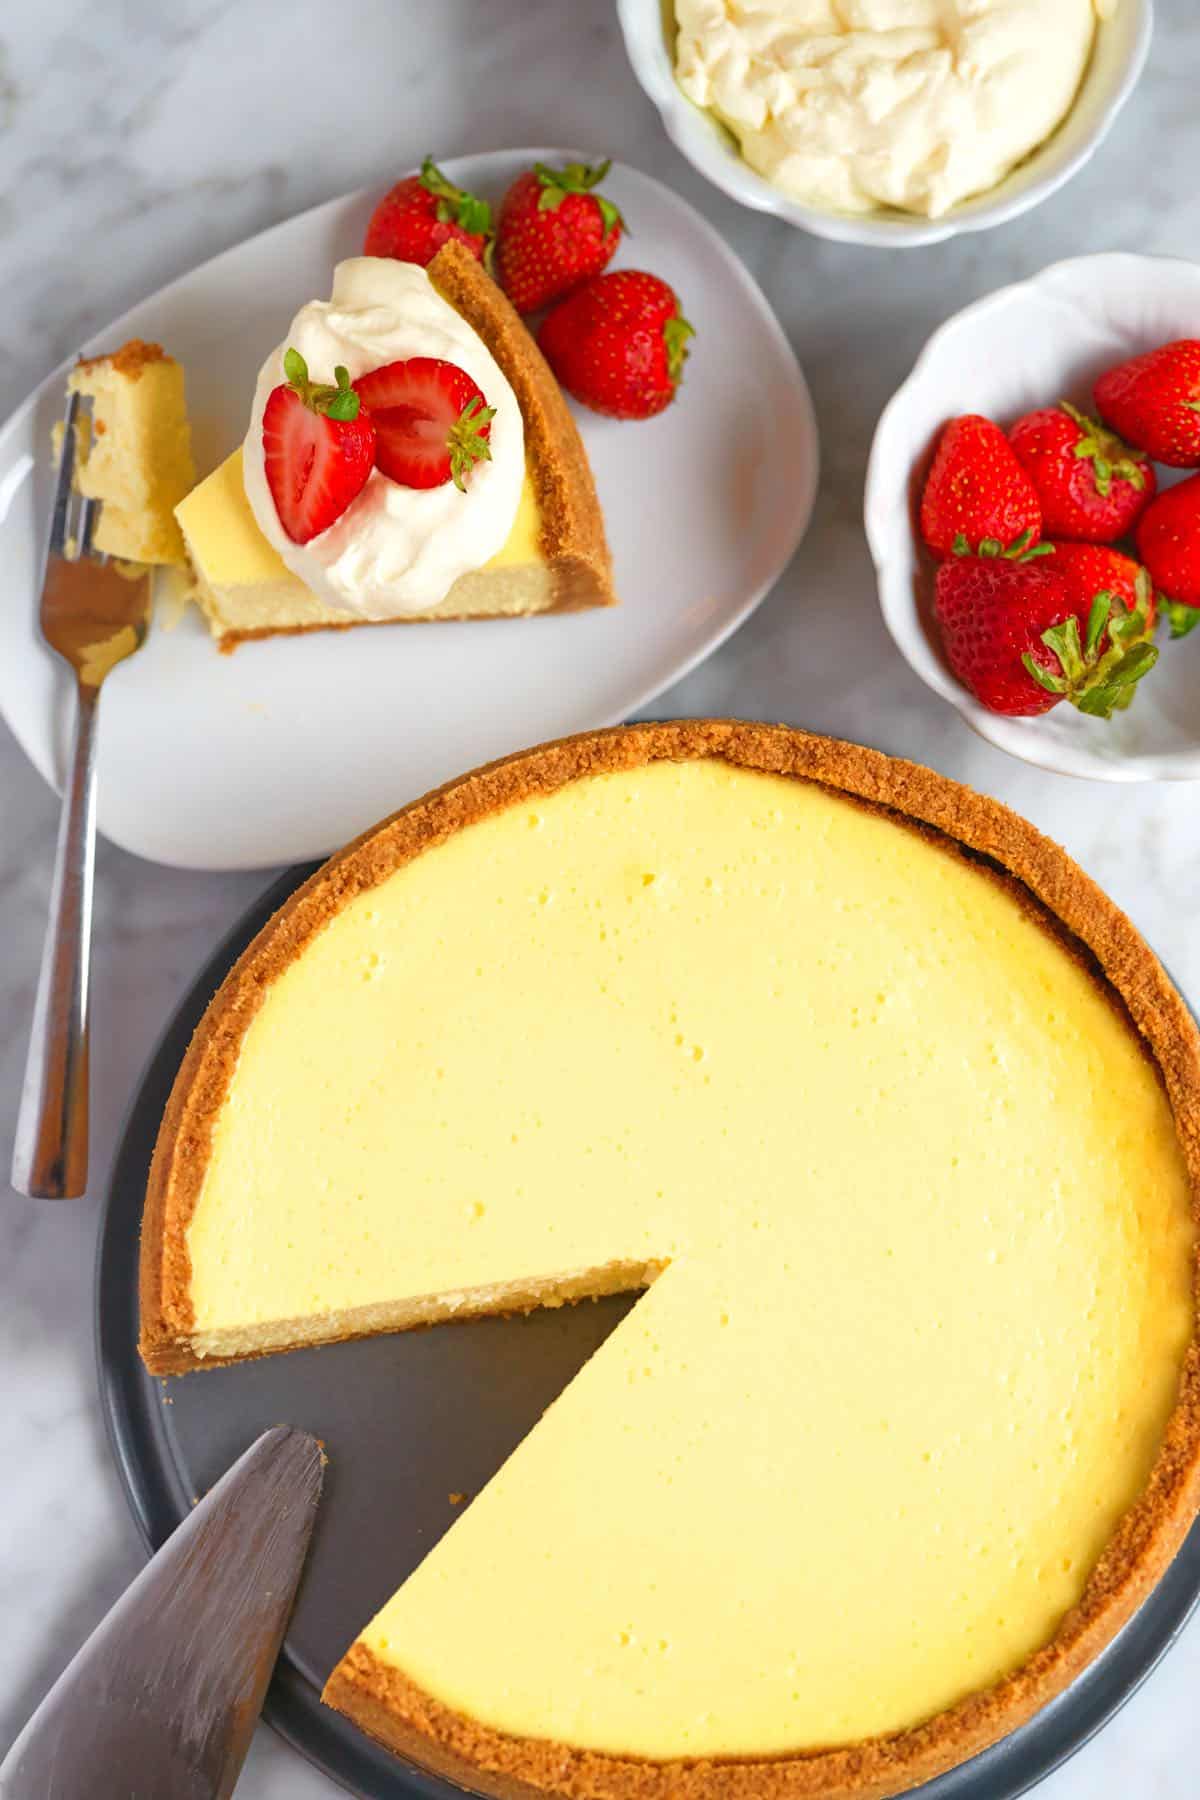
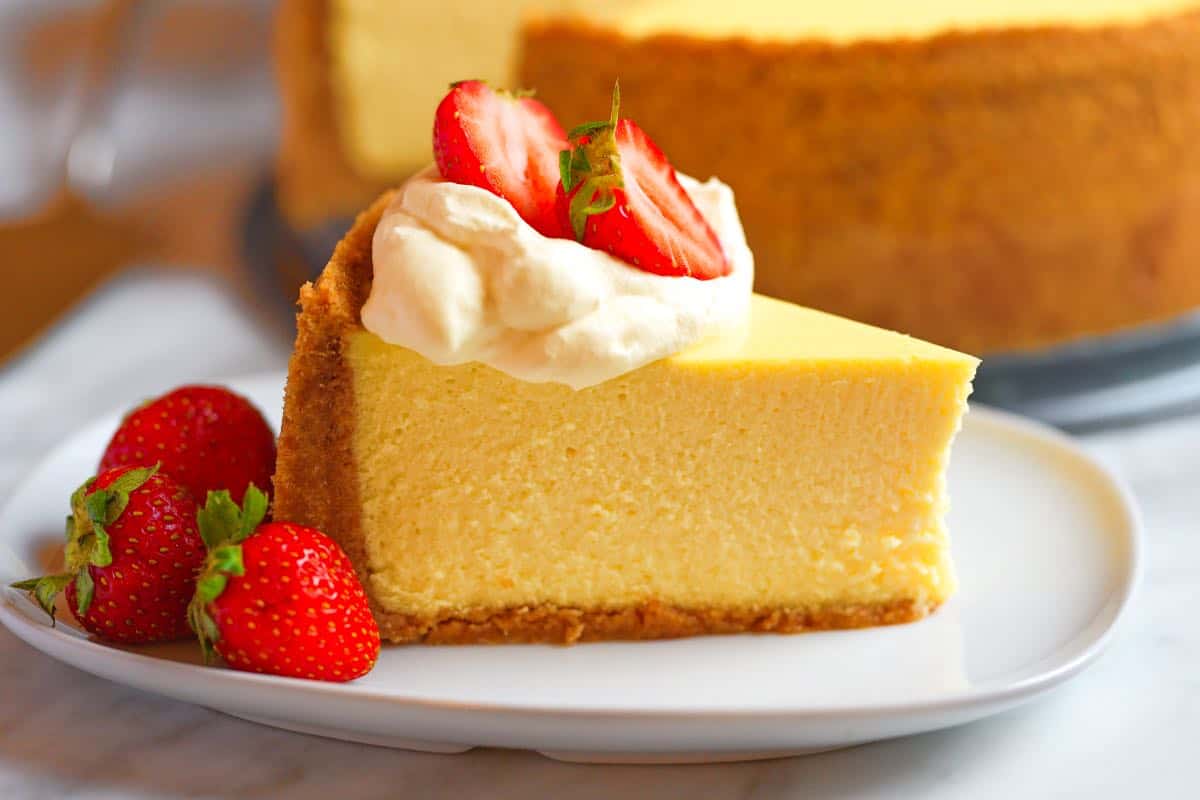
This is hands-down the best cheesecake I’ve ever made! A thick graham cracker crust provides the perfect base for an incredibly creamy, melt-in-your-mouth filling. Your search for the perfect New York style cheesecake has ended!
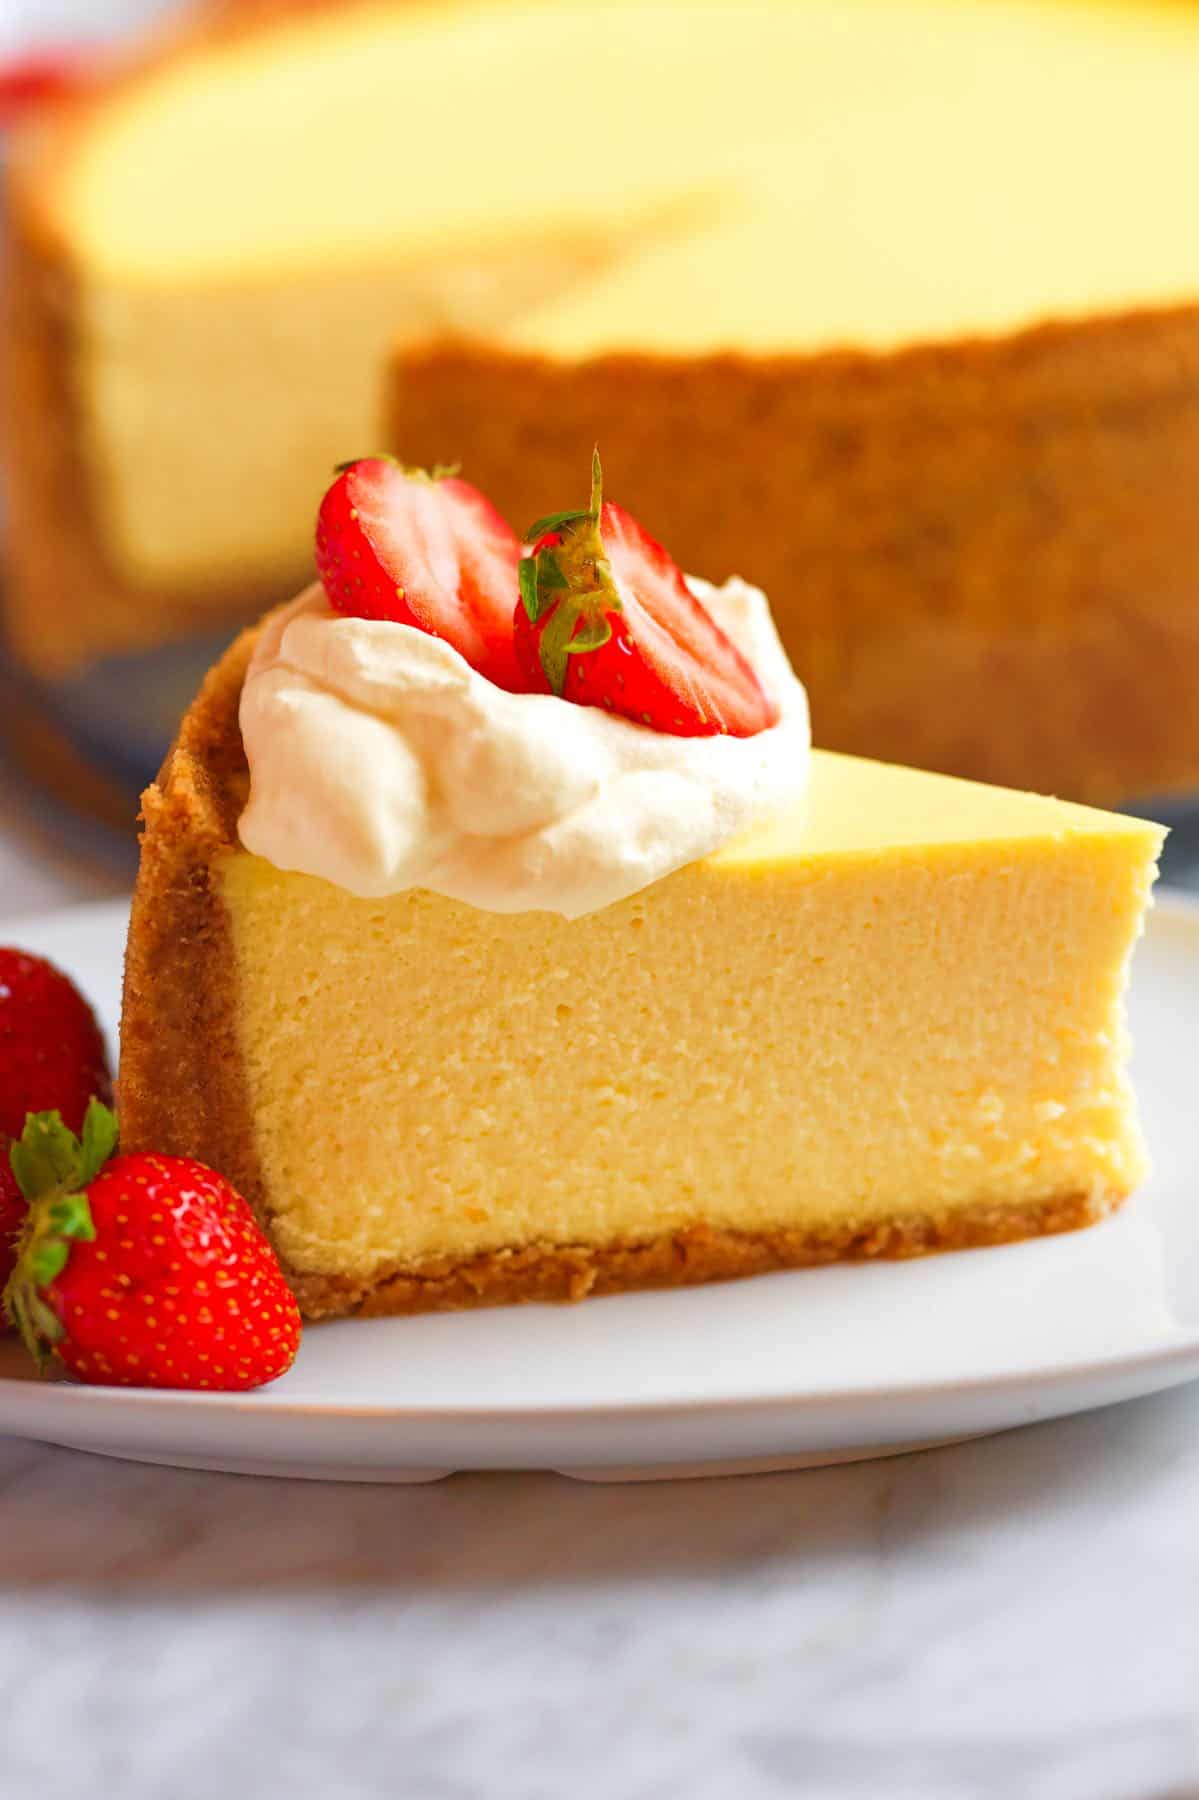
A huge thanks to Chef Richard for sharing his incredible cheesecake recipe! As a big fan of New York-style cheesecake, I knew his recipe would be a winner (and it is)! This has quickly risen to the top of my favorite dessert recipes on Inspired Taste.
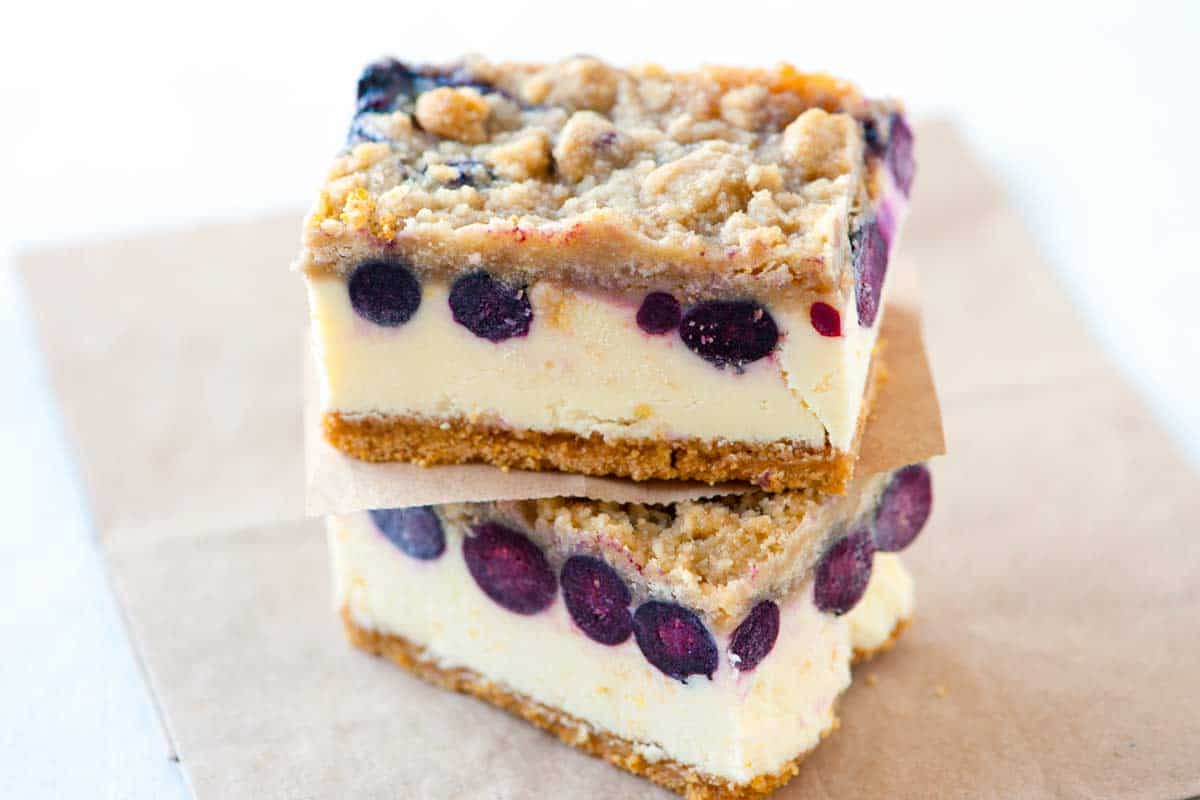
This cheesecake is hands-down one of the best I’ve ever tasted. Before trying Richard’s recipe, Adam wasn’t the biggest cheesecake fan, but now, he can’t get enough! For cheesecake bars, see these delicious blueberry lemon cheesecake bars.
Key Ingredients
- Graham cracker crust: Our crust is made with crushed graham crackers, sugar, and butter. Non-US bakers can substitute digestive biscuits for graham crackers.
- Cream cheese: Use full-fat block cream cheese for cheesecake. Make sure it is at room temperature.
- Sugar, vanilla extract, and lemon juice: Our cheesecake filling is not too sweet and has a hint of vanilla and lemon (we only add 1 teaspoon of lemon juice, but it makes a big difference in flavor).
- Eggs: We use a lot of eggs in this recipe (7 whole + 1 egg yolk). We wanted this cheesecake recipe to be in the style of New York cheesecake, and the eggs help us with that! Thanks to so many eggs, the filling is incredibly creamy, sturdy, and rich.
How to Make Cheesecake
If you’ve never made cheesecake before, don’t worry. I’ve outlined everything you need to know for success and shared a helpful recipe video that walks you through making it.
I use a stand mixer for this cheesecake recipe and recommend you do, too. It makes making the cheesecake filling easy. Also, I know I already mentioned this, but before making the filling, check that your ingredients are at room temperature. Otherwise, they will not mix as well for the smoothest cheesecake filling.
I start with my graham cracker crust. It’s easy to make. Melt your butter and then mix it with graham cracker crumbs and sugar. I like a thick crust when making cheesecake, so I’ve done that in my photos and the video. If you prefer a little less crust, no worries. Use as much as you like.
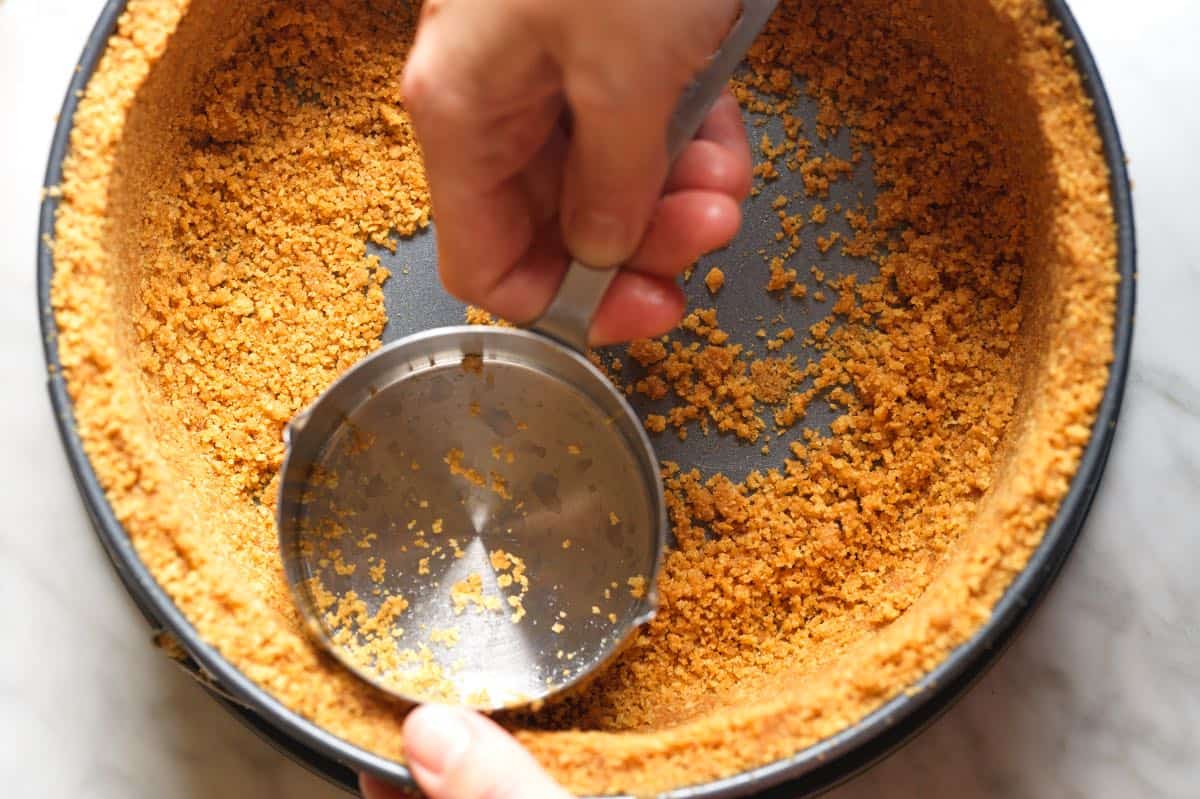
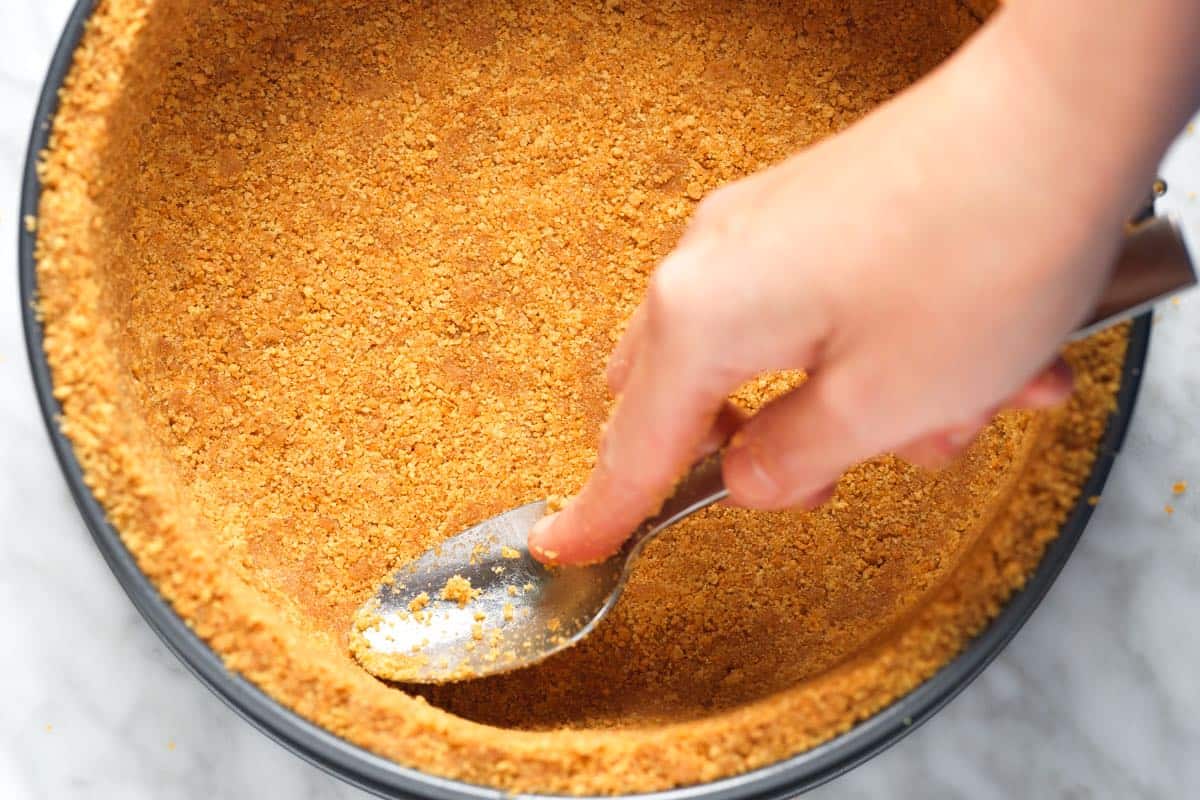
The trick for the crust is to really pat the graham cracker mixture into your cheesecake pan. You want it well packed to hold up when you pour in your filling. I build up the walls first and then fill the bottom, using my fingers and a flat-sided glass to push the crust into place. I also use a trick from Sally at Sally’s Baking Addiction and use a spoon to round the bottom edges of the crust before adding my filling.
Now we have our crust in place (no pre-baking required), you will make the filling. You’ll mix the cream cheese with sugar, vanilla, and lemon juice for about 2 minutes, and then add the eggs (and the egg yolk) one at a time. We mix until blended, but we do our best not to overmix since this adds too much air, adding bubbles to the filling. Once you see an egg is blended into the filling, add the next one, and so on, until they are all added to the filling.
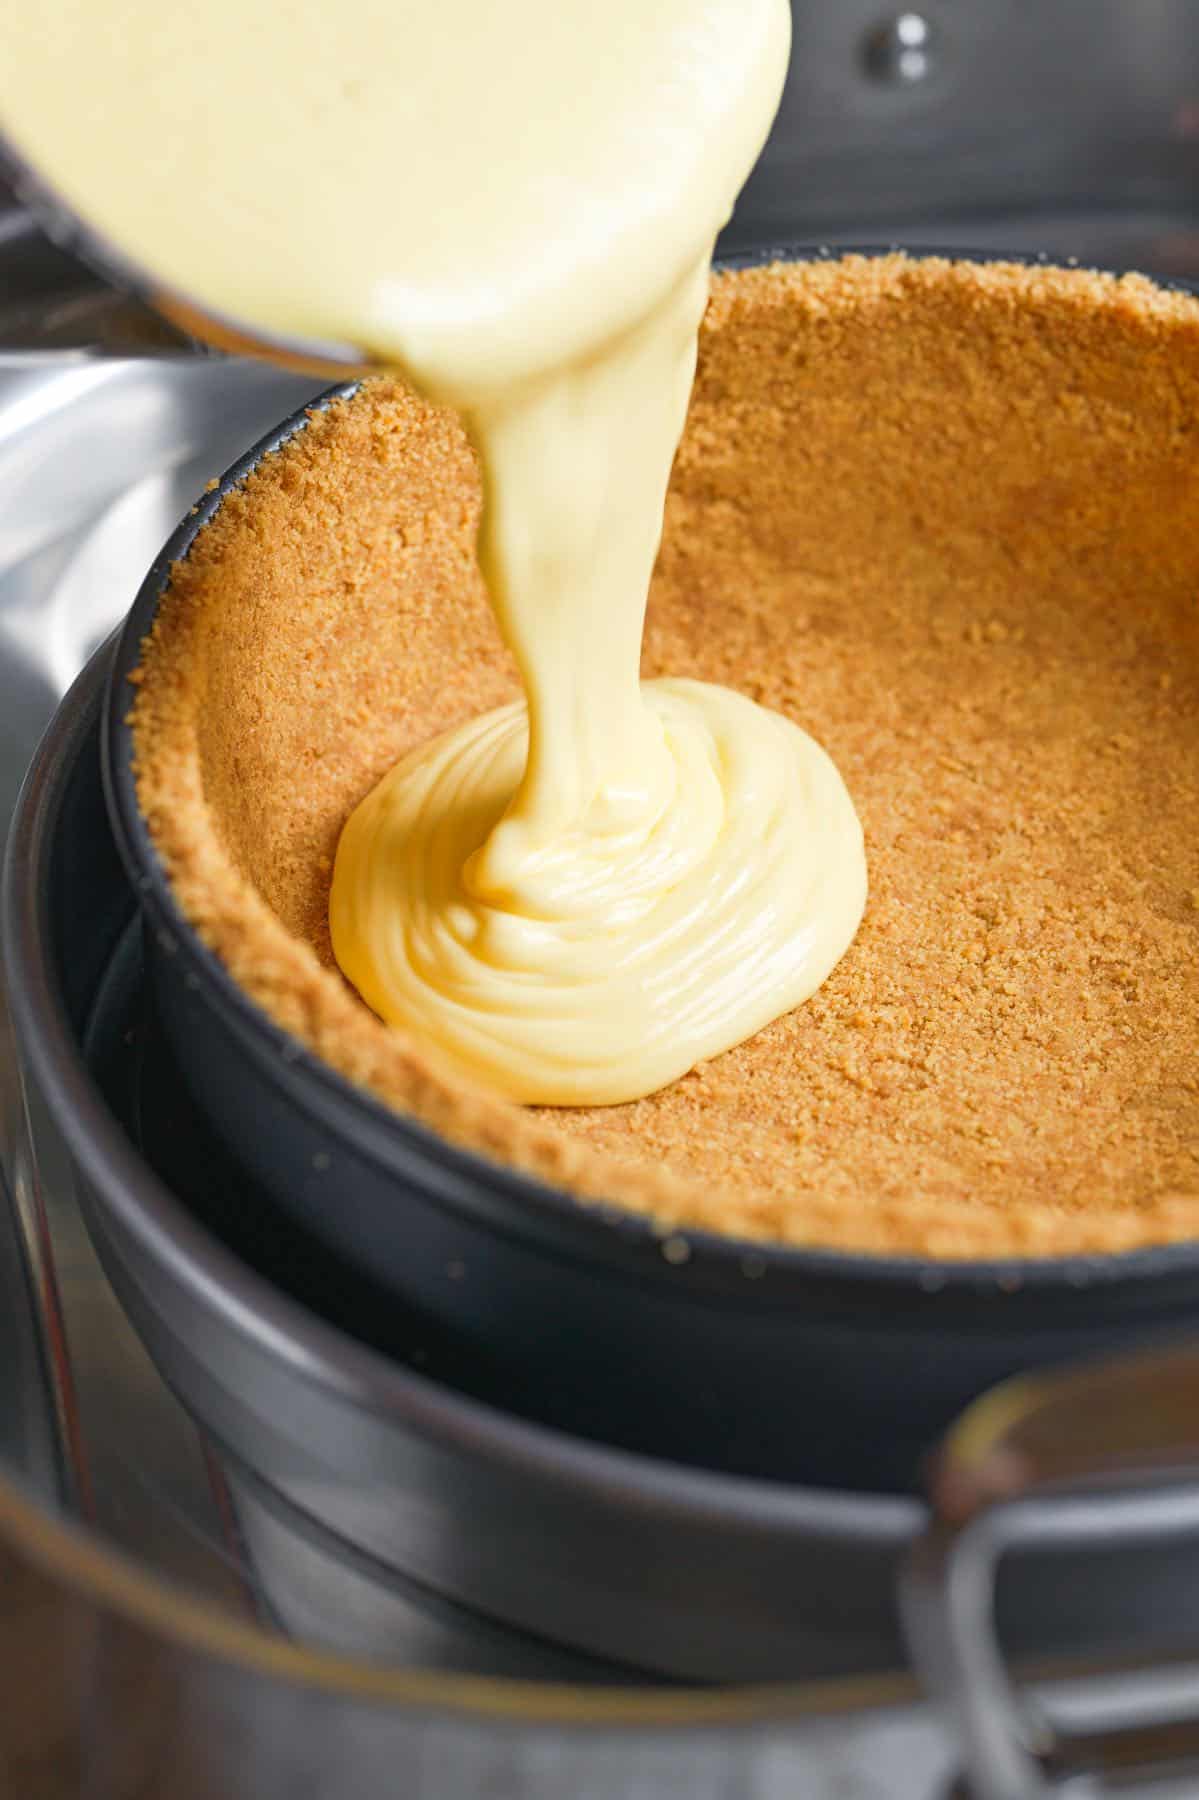
Pour the filling into your crust. Then, bake your cheesecake in a water bath for 1 ½ to 2 hours. I use the classic jiggle test to check if my cheesecake is done baking. Using oven mitts, I give the pan a gentle shake and watch the center. If the outer edges look set but the middle still has a slight wobble, I know it’s finished baking.
We want to avoid overbaking cheesecake, which leads to a dry texture and possible cracking. (Some cracks with our recipe are okay; we just want to avoid big ones!) When my cheesecake is done, I turn the oven off but leave the cheesecake inside with the door slightly open. Letting it cool down slowly helps prevent significant temperature shifts that can cause additional cracking. When my cheesecake is cool to the touch (1 to 2 hours), I refrigerate it overnight, which firms the middle even more.
Do I Need a Water Bath for Cheesecake?
I use a water bath to bake cheesecake. When baking cheesecake, we want to do it gently. The water bath acts like insulation, surrounding the cheesecake with gentle, even heat, preventing hot spots that could cause the edges to cook too quickly or overbake. Remember that we have 7 whole eggs in this cheesecake recipe. Eggs are sensitive to temperature. The steam from the water bath creates a humid environment in the oven, which helps the cheesecake cook slowly and evenly for that ultimate silky-smooth texture.
To make a cheesecake water bath, you will need a large roasting pan, hot water, and something to protect your cheesecake pan from the water. Many bakers use foil to wrap the pan and protect the cheesecake from water leaks. While using foil works in a pinch, I prefer using a large cake pan (slightly bigger than my cheesecake pan) and setting my 9-inch cheesecake pan right inside it. The cake pan creates a foolproof water bath without foil wrapping. If you have to use foil, double-wrap your cheesecake pan.
Can I still skip the water bath? Yes. You can make this cheesecake without the water bath; that’s how Chef Richard makes it. Since this recipe’s graham crust is so thick, it acts more like an insulator than if it were not there. You can skip the water bath if you go with the thick crust up the pan’s sides. (I still prefer this cheesecake when I use a water bath and think of it as my insurance policy, but know that you can still make the recipe without one.)
Perfect New York Cheesecake
- PREP
- COOK
- TOTAL
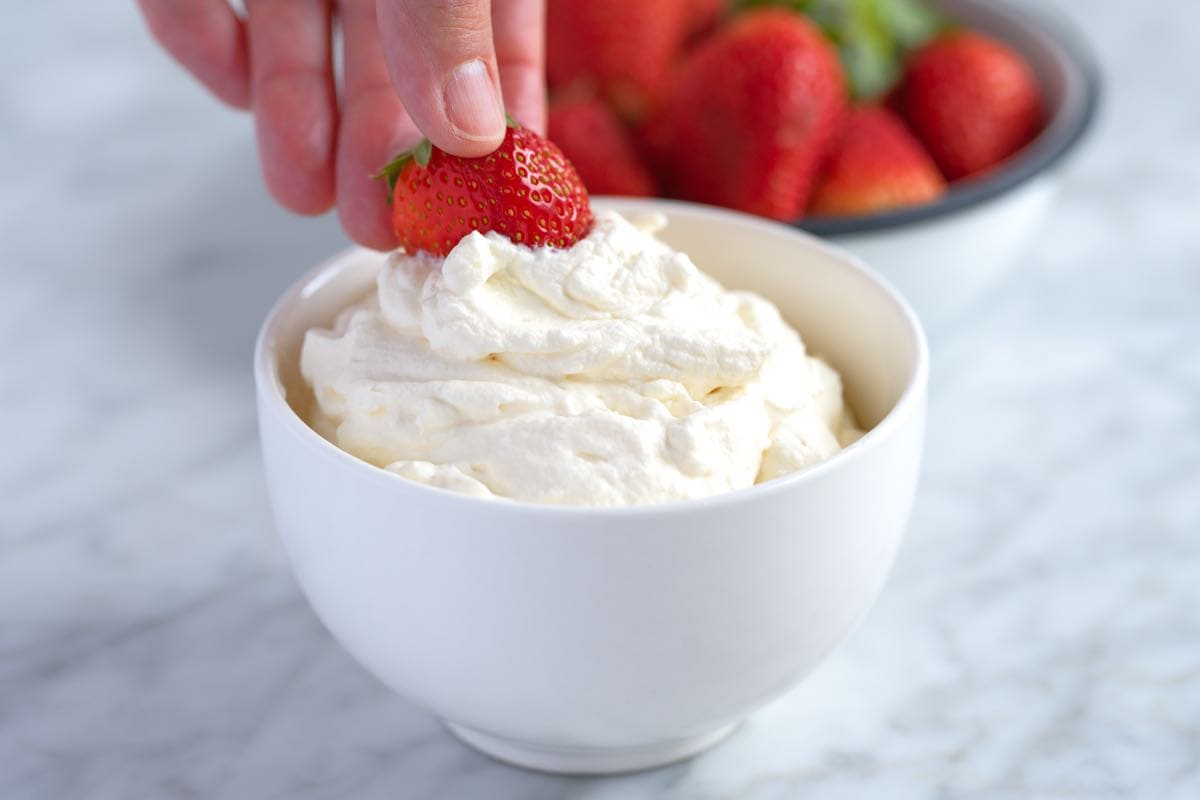
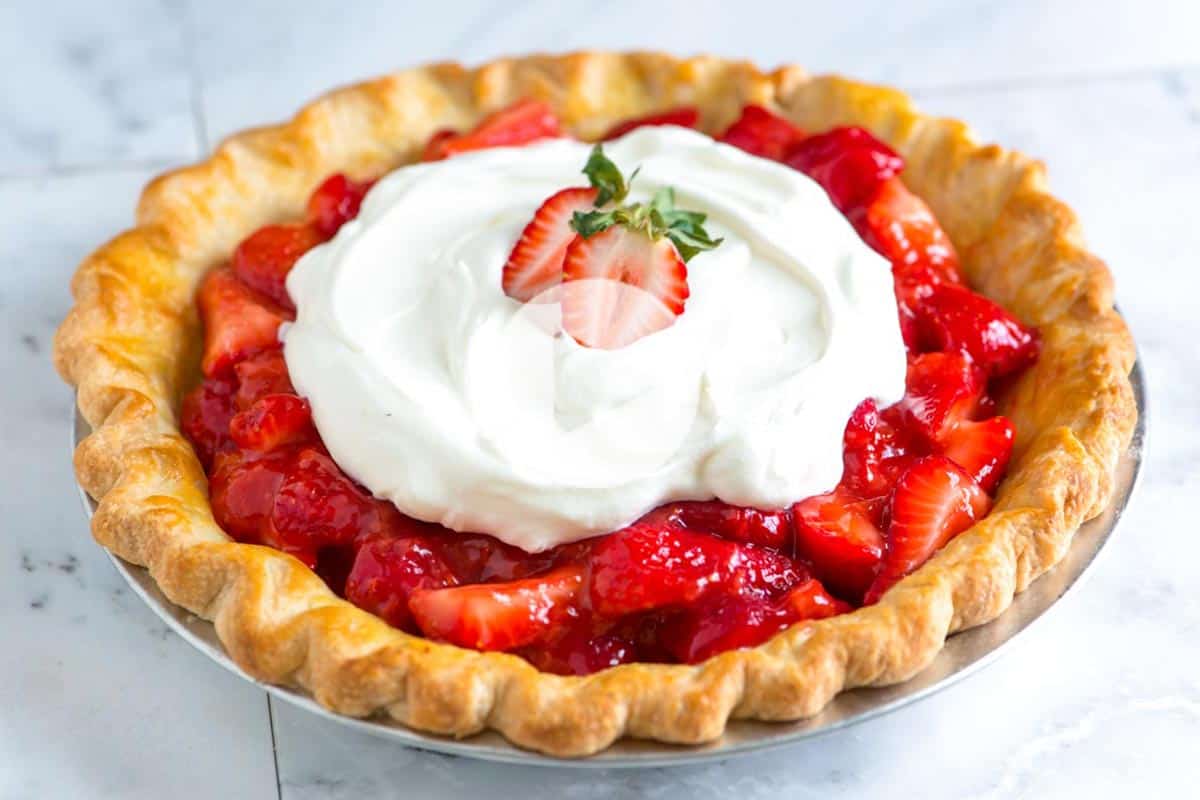
This classic cheesecake recipe is a new family favorite! Our recipe makes a rich, creamy, and perfectly dense cheesecake. Relying only on cream cheese and eggs (with no sour cream or cream) for the filling creates a texture similar to a New York style cheesecake. I love adding whipped creamy and fresh strawberries for serving, here’s our whipped cream recipe.
We use a water bath for this recipe and recommend a 10-inch cake pan with the cheesecake pan (springform pan) set inside to protect it from water leaks. If you do not have a large enough cake pan, wrap the cheesecake pan with two layers of heavy-duty foil before placing it in the water bath. Read more about water baths in the article above.
Watch Us Make the Recipe
You Will Need
Graham Cracker Crust3 ⅓ cups (405g) graham cracker crumbs, from 27 crackers (14.4 ounce box)
1/3 cup (80g) sugar
1 cup (226g) salted butter, melted
Cheesecake Filling32 ounces (907g) full-fat block cream cheese, at room temperature
1 cup (200g) sugar
1 ½ teaspoons vanilla extract
1 teaspoon lemon juice
7 large eggs, at room temperature
1 egg yolk, at room temperature
Directions
- Prepare Crust
1Preheat the oven to 325°F (162°C).
2To prepare for the water bath, you’ll need a large roasting pan, a 9-inch springform pan, and a 10-inch cake pan or foil. Place the springform pan inside the cake pan. If you do not have a large enough cake pan, wrap the bottom of the springform pan tightly with two layers of heavy-duty aluminum foil to prevent water from leaking in.
3To make the crust, combine the graham cracker crumbs and sugar. Pour in the melted butter, then stir until it is the consistency of wet sand. Let cool to room temperature.
4Lightly spray your springform pan with cooking spray. Add some of the crust mixture and begin building the sides (about 1/2-inch thick).
5Once the sides are formed, fill in the bottom of the pan, pressing the mixture down using the bottom or sides of a glass. Firm up the top edge by holding the glass against the side of the crust and gently pressing down with your fingers. I also like to run a spoon along the bottom edge of the crust, creating a rounded shape. This will help prevent crumbling. See Joanne demonstrate this in the video.
- Make Filling
1Bring a large pot or kettle of water to a boil, set aside for later.
2In a stand mixer with the paddle attachment, combine cream cheese, sugar, vanilla, and lemon juice. Mix on medium speed for 2 minutes, pausing halfway through to scrape down the sides and bottom of the bowl.
3Reduce speed to low and add the eggs and egg yolk one at a time, mixing briefly after each addition. Try to add all of the eggs within a minute.
4Scrape the bowl again and mix for another 20 seconds until the batter is smooth.
5Place the springform pan (inside a larger pan or wrapped with foil) into the roasting pan.
6Pour the cheesecake filling into the prepared crust, filling it close to the top. You may have some filling left over.
- Bake Cheesecake
1Carefully place the roasting pan with the cheesecake into the oven. Pour hot water into the roasting pan until it reaches 1 inch up the sides of the pan.
2Bake the cheesecake for 1 ½ to 2 hours. It’s done when the top barely starts to brown, and the center has a slight jiggle.
3Turn off the oven, slightly open the door, and let the cheesecake cool completely inside for about 2 hours.
4Remove the cooled cheesecake (still in the springform pan) from the water bath and refrigerate overnight. Store in the fridge (covered) for up to 1 week.
Adam and Joanne's Tips
- Salted butter: I love the salt in this crust. If using unsalted butter, add 1/4 teaspoon of fine sea salt to the crust mixture.
- Graham cracker substitute: Non-US bakers can substitute digestive biscuits.
- Use less crust: I love a thick graham cracker crust for my cheesecake, but you can reduce the amount of crust in this recipe. Pack the crust as high as you like up the sides of your cheesecake pan.
- Room temperature ingredients: Do not skip room temperature ingredients. The filling will not mix well if the cream cheese and eggs are cold.
- Filling pulls away from sides: Slowly cooling the cheesecake is key to preventing cracks and the filling pulling away from the sides, but sometimes, even when we do everything right, it still happens. (See our video). I don’t mind when homemade desserts look homemade, so don’t worry too much about it. You can always use a little whipped cream to cover any cracks.
- Storing: A freshly baked cheesecake can last up to a week in the fridge, which is lovely because it means I can enjoy it for days! I store it in a container or wrap it with foil to stop it from picking up any fridge odors.
- Nutrition facts are estimates.

Went so well! My mum and dad absolutely loved it – said if they didn’t know I’d made it, they’d have thought it was from a bakery. My dad’s vowed never to buy one again! I added a bit of cream and cornflour to mine and baked it a little longer as my family tends to prefer a firmer cake and it turned out absolutely fantastic. I made it for the first time and even I couldn’t believe how well it turned out. Absolutely smashing; thanks a bunch.
We are thrilled that your family loves it 🙂
Best recipe is brilliant – I topped it with berries and crumble after it was cooked and it was amazing!
Cheesecake is my fav dessert. I’ve made a few different recipes but this one by far is my fav! Soooo creamy and love the thicker graham cracker crust. Not only did it taste delicious but it looked beautiful. My cheesecakes always “cracked” until I made this one. Thank you !
Wish I could post a pic. This is my first time making a cheesecake. Soooo Good! I usually have to have a topping or semi frozen but this one is great as is. I did use the 1/3 less fat cream cheese so I don’t know what the full fat tastes like, but I will next time. Thank you. Looking forward to trying your lasagna recipe tonight!
I did this cheesecake yesterday for Christmas. Unfortunately I did not have Philadelphia cheese but I made with others. It’s so so so delicious!!! Perfect! Thank you for this recipe and greetings from Poland
Perfect and delicious cheesecake. Made this exactly as directed and it’s fabulous.
Try this one it is sooooo good.
I made this and it is my very first homemade cheesecake ever. It’s in the frig now but I must say I’m so proud it looks amazing. Followed recipe to the letter and I would recommend this to anyone. I know it’s going to taste as good as it looks. Try It
The cheesecake is amazing even the delicious graham cracker crust. I’m a little worried the cheesecake top was a golden brown.will that affect the cheesecake?
Hi there! We’re so glad you loved the cheesecake and the graham cracker crust! Don’t worry too much about the golden brown top. It sounds like it might have just gotten a little extra color. As long as it’s not burnt, the cheesecake should be perfectly fine and delicious! Enjoy!
Should the graham cracker crust be pre-baked? Your recipes are fantastic!
There is no need.
I have never made a cheeecake before. Your video inspired me and I do love cheesecake, NEW YORK CHEESECAKE. I’m going to try it. I do have a question though. I’m not a big fan of crusts on cheesecake. When I was in high school I worked at a local bakery after school. I was young and it was my first job.I was actuall the clean up boy. I came in after school and all the bakers woud be leaving and I would do the clean up and odd jobs. I learned alot. The bakers were nice and showed me a few tricks of the trade. Like making the roses on the birthday cakes. They had one of the best NY Cheesecakes in town. I did notice that their cheesecakes had a very thin cake layer on the bottom of the spring form pan. They did not have a crust around the sides.If I decided to make the cheesecake without a side crust what can I use to stop the sides from sticking ? Thank you.
The sides of the cheesecake will naturally fall as they cool, so you should not have any sticking. If you do, just use a thin knife to go around the pan to help release it.