I’ve put together the ultimate guide for cooking dried chickpeas! Learn how to soak them, plus three ways to cook them: on the stove, in a slow cooker, and in a pressure cooker (Instant Pot).
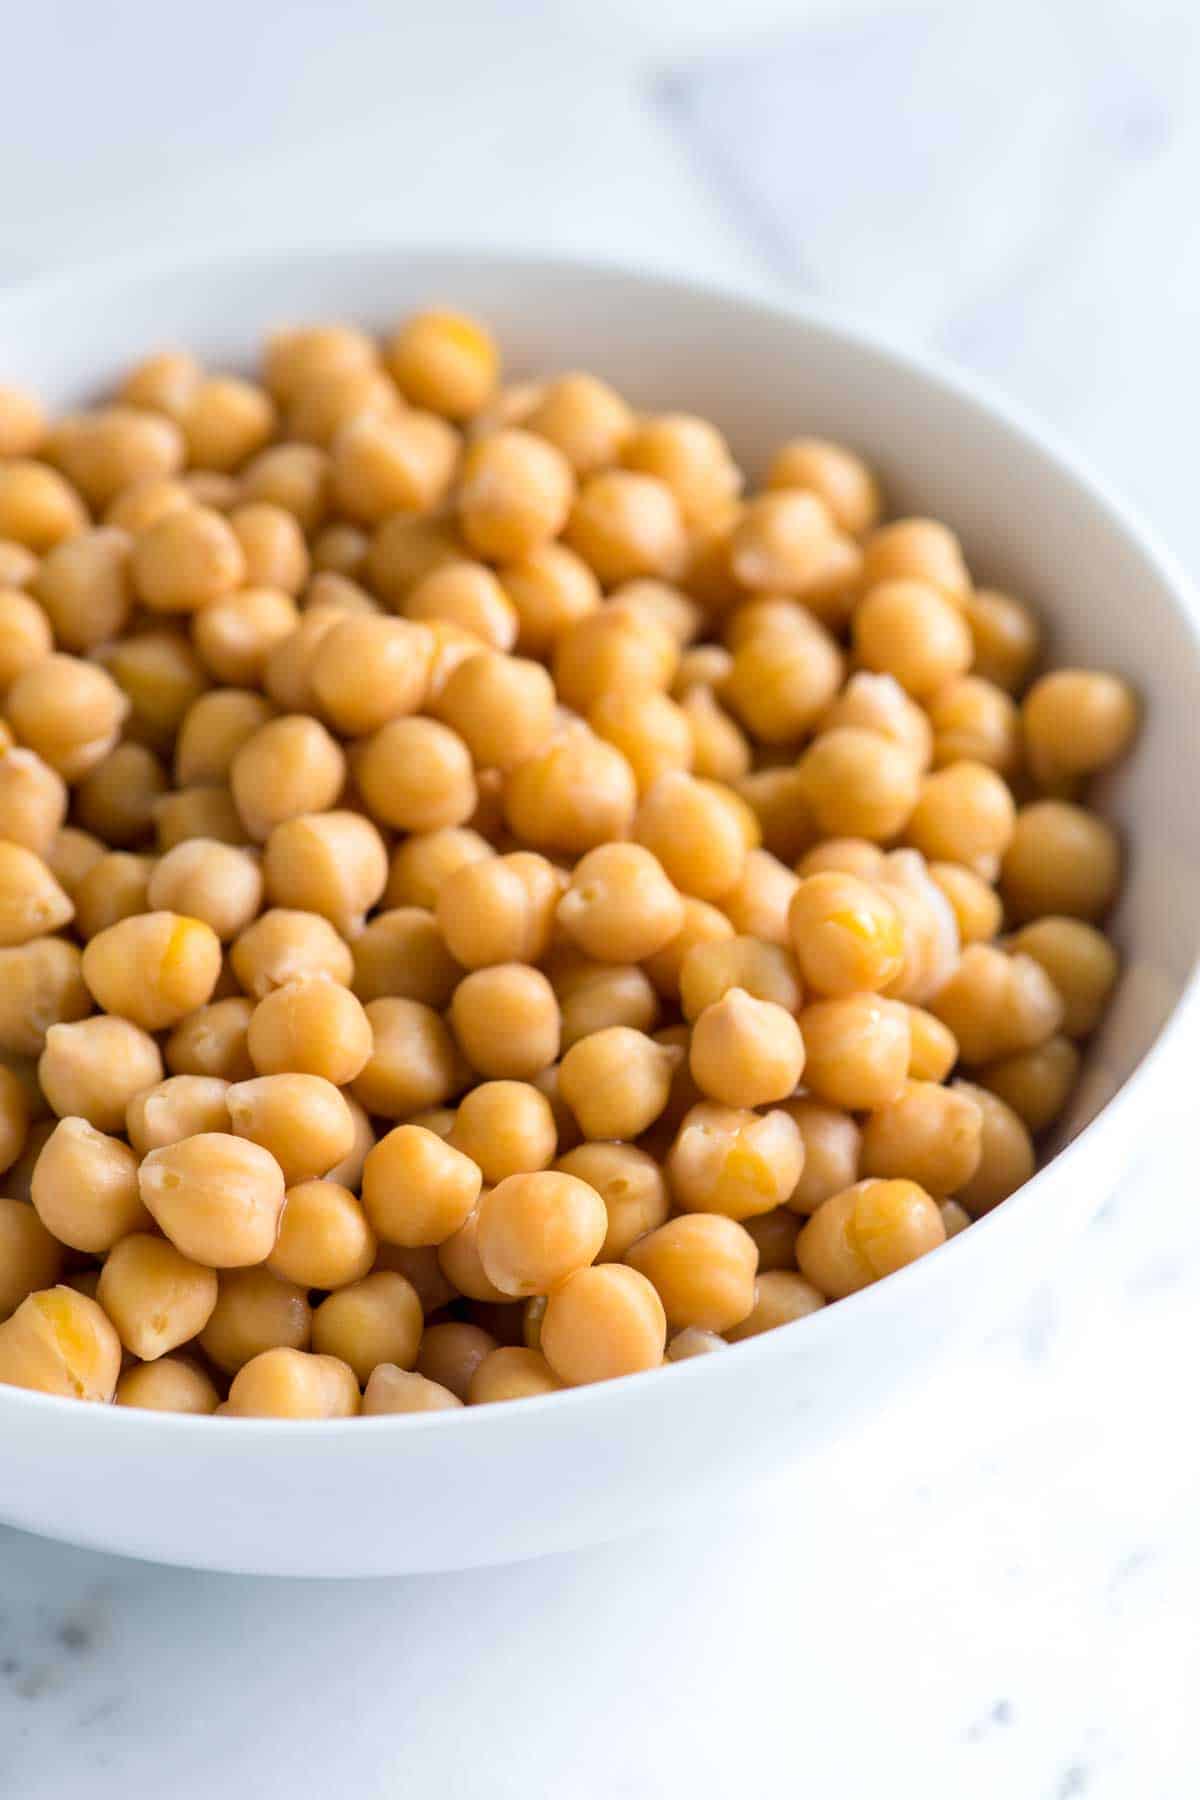
Have you ever wondered what to do with dried chickpeas (or other dried beans)? I did, too, until I learned how to cook them.
Ditch the cans and learn how easy it is to cook dried chickpeas. They taste fresher, have a better texture, and are always ready in your fridge or freezer (yes, you can freeze them!). Learn how simple it is below.
Key Ingredients
- Dried chickpeas: Also called garbanzo beans, you’ll start with dried chickpeas for this recipe. They look tiny compared to what comes out of a can. That’s because dried chickpeas triple in size when you cook them, meaning 1 cup of dried chickpeas yields about 3 cups of cooked chickpeas.
- Aromatics: While optional, I love cooking my chickpeas with a few aromatics so that they taste amazing. I love bay leaves, garlic cloves, and onion. I do the same when cooking dried black beans.
- Water: For this recipe, don’t bother with stock or broth. Plain water does the trick. You’ll use it to soak the chickpeas and cook them.
How to Cook Dried Chickpeas
In my recipe below, I’ve shared 3 ways to cook dried chickpeas:
- Stovetop method (my favorite): You will need to soak your chickpeas and it takes 1 ½ to 2 hours to cook them.
- Slow cooker method: You do not need to soak your beans and takes 4 to 8 hours to cook, depending on setting.
- Instant Pot method: You do not need to soak your beans and takes about 1 hour.
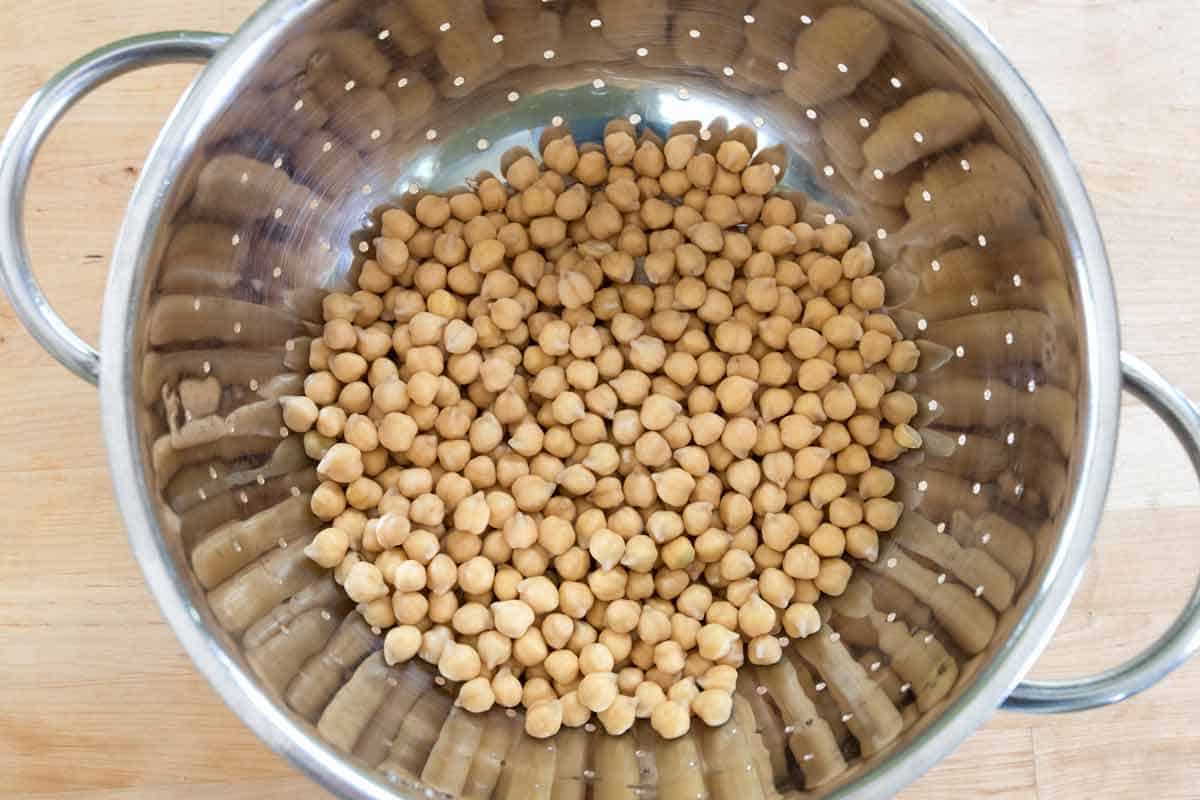
My go-to method for cooking chickpeas is on the stovetop. It’s straightforward, and I don’t need any special equipment. However, I’ve included instructions for both slow cooker and Instant Pot (pressure cooker) methods in the recipe below, as all three work wonderfully.
For the stovetop method, you’ll start with soaked chickpeas. It’s easy and offers some surprising benefits, like improved digestibility, a creamier texture, and reduced cooking times. I use two methods for soaking chickpeas: an overnight soak (my favorite) and a quick soak for when I’m short on time. Both are simple and effective, so choose the one that best fits your schedule.
- Overnight Soak: Add your chickpeas to a large bowl and cover them with several inches of water. Let them soak for 8 to 12 hours, then drain and cook as desired.
- Quick Soak: Add your chickpeas to a pot and cover them with several inches of water. Bring to a boil, turn off the heat, and let them sit for 1 hour. Drain and proceed with cooking.
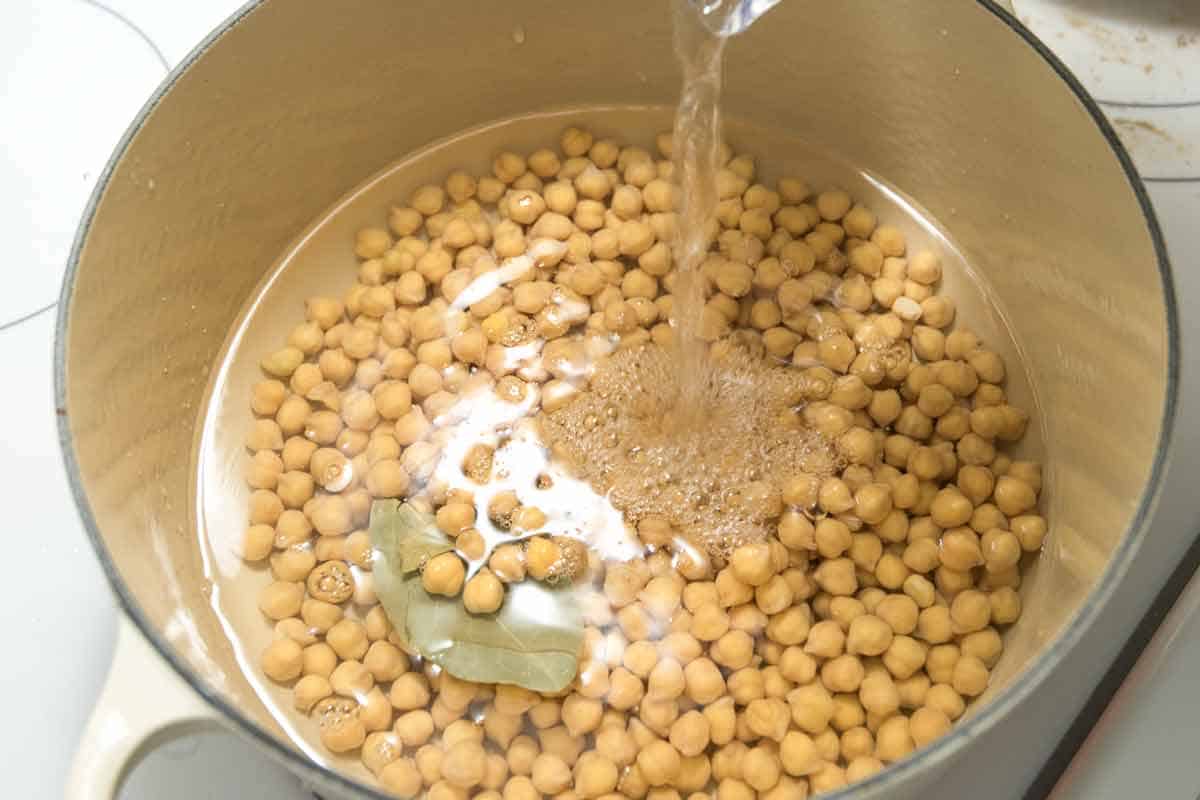
The soaked chickpeas take about 1 ½ to 2 hours to cook. You can simmer them in plain water or add the aromatics suggested in the recipe. I also like to add a little salt, but that is optional.
To control the texture of your chickpeas, adjust the lid while simmering. For firmer beans that hold their shape well, simmer with the lid completely off. These are great for bean salads and vegetarian chili. For softer, creamier beans that easily break down, simmer with the lid slightly ajar. These are perfect for hummus or dishes where you want the beans to mash easily like smashed chickpea salad.
While I love cooking my chickpeas on the stove (it gives me more control), you can use a slow cooker or pressure cooker (Instant Pot). I’ve included both methods in the recipe below. To learn how to cook other types of beans, see our recipes for how to cook lentils, how to cook black beans, and these creamy coconut black beans.
Ways to Use Chickpeas
Canned beans have their place, but I love cooking chickpeas from scratch. You can customize the flavor and texture. They are also pretty inexpensive! We have a lot of chickpea recipes on Inspired Taste, but here are a few of my favorites:
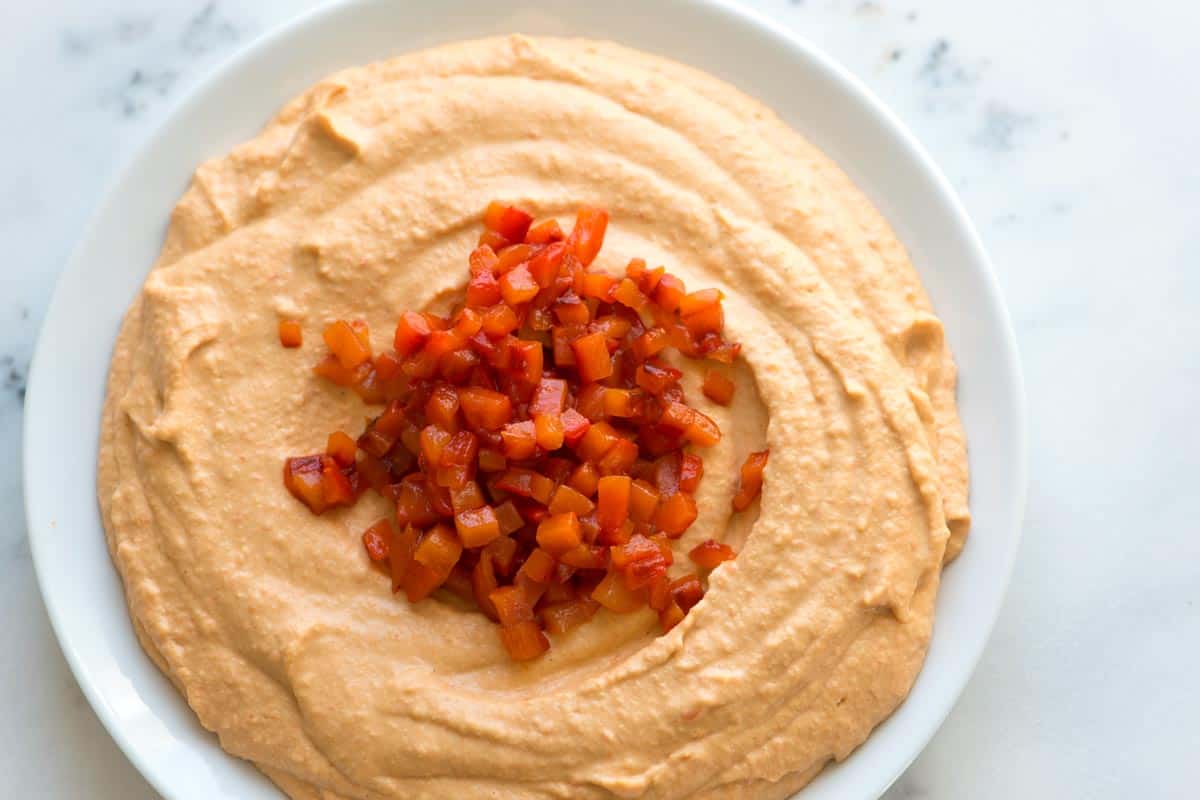
- Roasted Red Pepper Hummus
- Curried Chickpea Salad Bowls
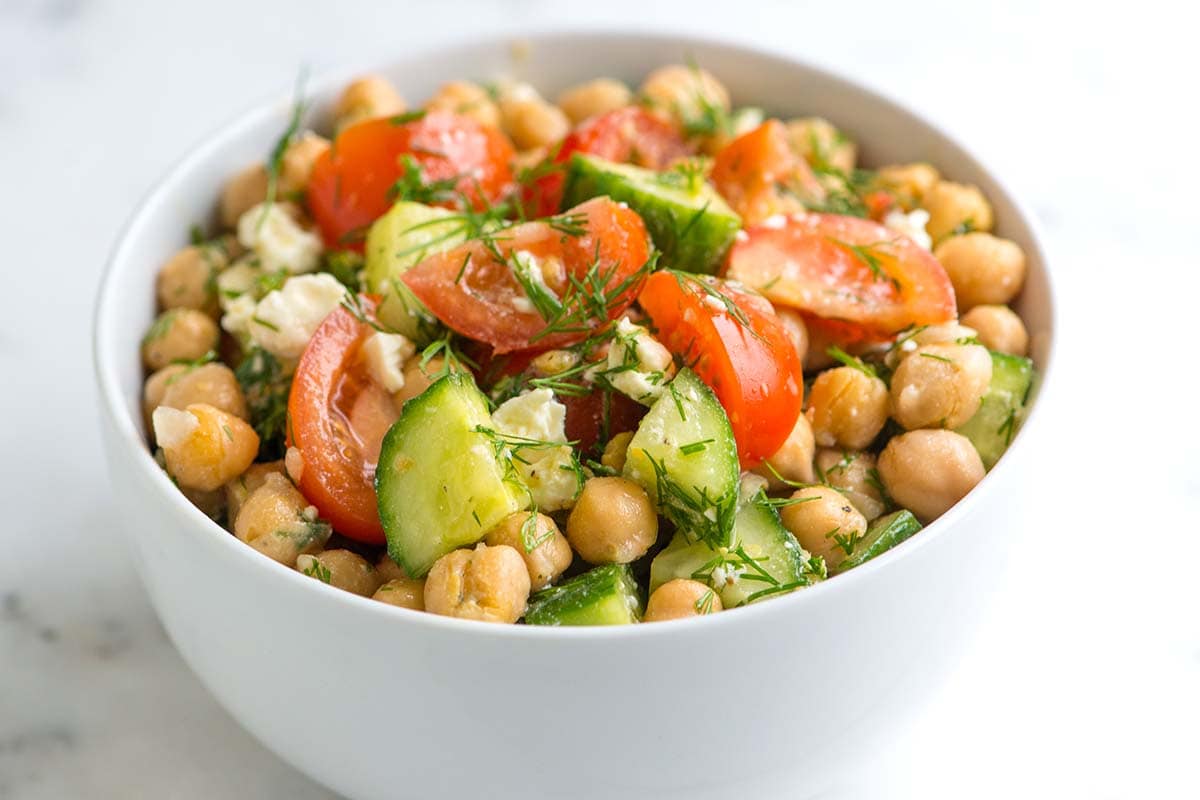
- Easy Bean Salad
- Homemade Crispy Falafel
- Honey Roasted Chickpeas
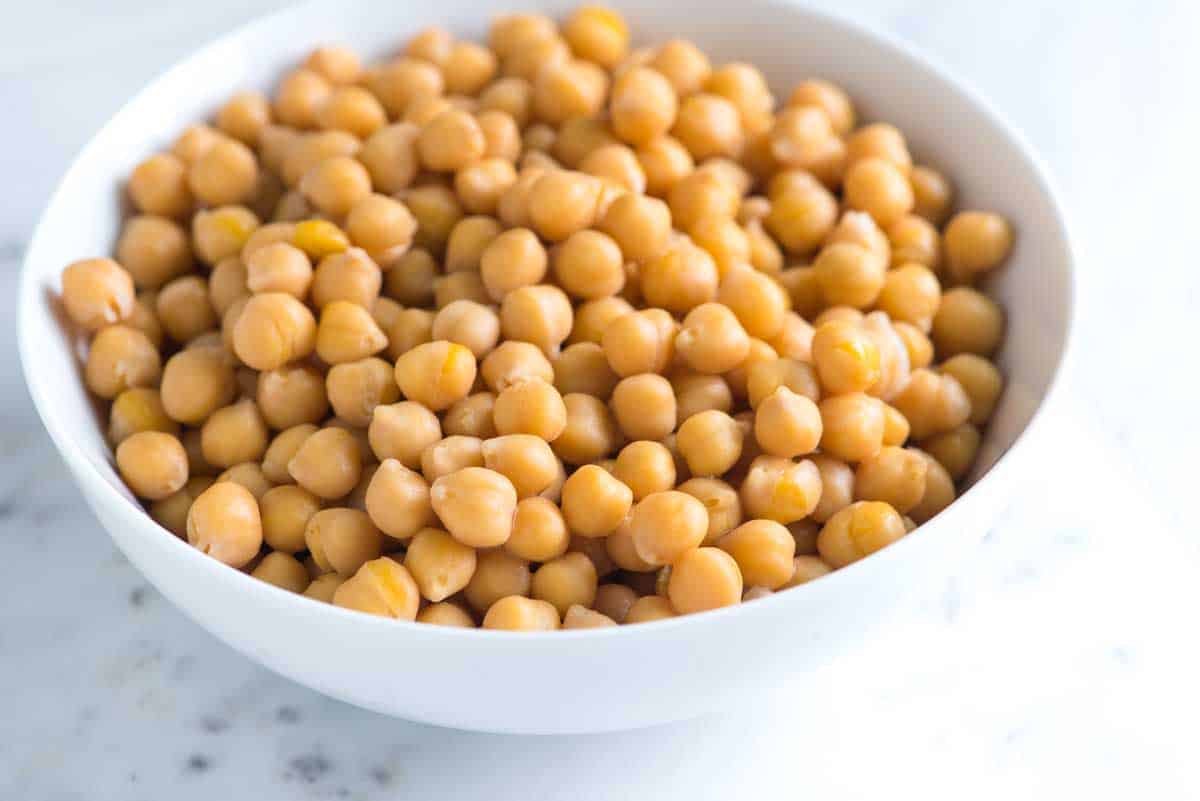
How to Cook Dried Chickpeas Perfectly
- PREP
- COOK
- TOTAL
Below, I have shared 3 simple methods for how to cook chickpeas: stovetop, slow cooker, and pressure cooker. My favorite method is to soak them overnight and cook them on the stove. I have included a quicker soaking method in the tips if needed. You do not need to soak the beans when using a slow cooker or pressure cooker.
Watch Us Make the Recipe
You Will Need
1 pound (450g) dried chickpeas or garbanzo beans, about 2 cups dried beans
Water
1 teaspoon fine sea salt, optional
1 bay leaf, optional
2 to 3 garlic cloves, gently smashed, optional
Half of an onion, optional
Directions
- How to Cook Chickpeas on the Stove
1Look through the dried beans and pick out anything that doesn’t look like a bean (sometimes a rock or something else from the bulk aisle sneaks in).
2Add the dried beans to a large bowl and cover with several inches of water. As the beans rehydrate, they triple in size. Soak the beans for at least 8 hours. Drain and rinse. See tips for our quicker soaking method.
3Place the soaked, drained, and rinsed chickpeas into a large pot.
4Add salt, bay leaf, garlic cloves, and onion half. Cover with several inches of water.
5Bring to a boil. Reduce the heat and simmer until the beans reach your desired softness, 1 ½ to 2 hours. For firmer beans, perfect for salads, simmer with the lid off. For softer, creamier beans, ideal for hummus, simmer with the lid slightly ajar.
- How to Cook Chickpeas in a Slow Cooker
1Look through the dried beans and pick out anything that doesn’t look like a bean (sometimes a rock or something else from the bulk aisle sneaks in).
2Rinse, and then add the dried chickpeas to a slow cooker (you do not need to soak the beans for this method).
3Add 7 cups (1650ml) of water, salt, bay leaf, garlic cloves, and half an onion.
4Cook on HIGH for 3 ½ to 4 hours or on LOW for 6 to 8 hours.
5This method makes very soft beans, so if you are looking for firmer beans, keep an eye on them towards the end of cooking.
- How to Cook Chickpeas in a Pressure Cooker
1Look through the dried beans and pick out anything that doesn’t look like a bean (sometimes a rock or something else from the bulk aisle sneaks in).
2Rinse, and then add dried chickpeas to a pressure cooker or Instant Pot (you do not need to soak the beans for this method).
3Add 6 cups (1420ml) of water, salt, bay leaf, garlic cloves, and half an onion.
4Seal the lid and cook on High Pressure for 50 minutes, then naturally release for 10 minutes. Vent the remaining pressure before opening the lid (you can tell when it is safe to open the cooker when the steam release valve drops).
5We recommend you read the user manual of your specific pressure cooker before using this method.
Adam and Joanne's Tips
- Salt: This is optional, but it enhances the flavor of the chickpeas. Add it to the cooking water or season it to taste towards the end of cooking. Adding salt in the beginning will season the chickpeas more thoroughly.
- Baking soda: I do not add baking soda, but you can. Some suggest it may make beans easier to digest since it binds to sugars and helps to break them down. Add 1 tablespoon of baking soda to the soaking water. Or use 1/4 teaspoon when cooking the beans.
- Quick soak beans: To quickly soak your chickpeas for the stovetop method, add the dried beans to a large pot, cover with several inches of water and bring to a boil. Boil for 5 minutes, remove from the heat, and let the beans sit in the water for 1 hour. Drain and rinse.
- My beans are not softening: If the beans are not softening, you may be using old beans, or your water is high in minerals (hard water). Add 1/4 teaspoon baking soda to the cooking water. If the beans are still hard after 2 hours of simmering on the stove, your beans may be too old.
- Storing cooked chickpeas: You can refrigerate your drained cooked chickpeas in an airtight container or a food-safe bag. They will last up to 4 days in the refrigerator.
- To freeze them: Pat the chickpeas dry, then place them in a single layer on a baking sheet lined with parchment paper or foil. Freeze them until they are mostly frozen, about 30 minutes. Then, store them in a freezer bag for up to 3 months.
- Save the cooking liquid: You can also save the chickpea cooking liquid called aquafaba. I use it to make vegan mayonnaise, and you can use it as an egg replacer. To learn more, here’s our ultimate guide to aquafaba.
- The nutrition facts provided below are estimates.


Maybe my chickpeas are fresher than yours, but after soaking overnight in salted water with say a 1/2 tsp of baking soda, I only need to cook them for ~40 minutes. Also the baking soda makes them more digestible. Serious eats has a great article explaining how this method speeds things up and leads to creamy beans!
Hi! Can I roast these for a crunchy snack after I have cooked them? My kids like the chickpea snacks at the store, but I hate all a additives. Thanks!
Yes, although they do not get as crunchy as what’s sold in stores. If you have an air fryer, they will get a bit crispier.
Yes! I am eating roasted chickpeas that I cooked from scratch RIGHT NOW. I like to roast at 375 on the convection setting of my oven. After cooking about 20 or so minutes, I turn off the oven and let the chickpeas sit in the hot space and get all crispy and small.
just made your over night soak method and rinsed covered with fresh water added the garlic oniom bay leaf kosher salt left totally uncovered brought to boil then lowered to simmer 1 1/2 hours they came out Perfect!!! I wanted them for salads. I am so happy and they have wonderful flavor. The broth I will freeze for soups. Thank you for Perfect recipe
This is my first try at cooking dried chickpeas, and your instructions covered all my questions! Thanks so much.
It’s a hot day and I don’t want to turn my stove on, but I’ve already soaked my beans. Can I still finish the job in the slow cooker? If so, any cooking suggestions? Also, your hummous and tahini recipes are my “go to.” Ab Fab!!! Everyone wants the recipes!
Definitely, I’d expect them to take a bit less time (closer to 6 hours on LOW).
Thanks for the great recipes and instructions. I will be sharing this site with friends and family when I harvest my beans this summer and fall. Do you recommend freezing with or without liquid? I have a food saver vacuum sealer if that would be helpful.
I’m so happy to have just found your helpful cooking guide but I have one question. I read many of the comments but didn’t find an answer to my question. In the section “Adam and Joanne’s Tips”, in the “Baking Soda” ection, it says you “can add 1 tablespoon of baking POWDER to the soaking water”. or “use 1/4 teaspooon when cooking the beans”. Do you mean “baking soda” in both cases since the title of the section is “Baking Soda”? I’m excited to try cooking dried beans rather than using canned ones with all the additives.
Hi Linda, We use baking soda, not powder. Any reference to baking powder was a mistake and has been removed.
Clear, concise, and easy to understand instructions. I’m confident that I will be able to do this successfully so thank you very much. (I frequently find the idea of starting a recipe from scratch intimidating but I believe that my hummus will be great.)
Hi and thank you so much for your recipes. I am inspired to try again after so many times of slightly gritty Hummus and while I have also tried longer soak and stove cook times than you suggest I am now thinking it is more likely a food processor problem so I will look at replacing that for one which can better process smaller and/or harder food items. It is so easy to blame the cook (me) but maybe sometimes it can be the tools 🙂
Thank you – now it all makes sense ! So grateful for all the time and info you have provided … chickpea salad on the menu tonight !! Cheers
This is the most phenomenal cooking guide I’ve ever read. It’s professional, friendly, a very easy read and so comprehensive, I had no questions after reading the whole thing. I also really respect both the work you put into all of this and how you credit someone else when you share something you learned from someone else’s hard work. Really amazing all the way around! I’ll certainly be back to Inspired Taste. Thank you so much!!
Love your site and find it very informative and with extra hints and tips, it is very helpful. I have a couple of questions, please. If I use bicarbonate of soda in my soaking water, can I still use the cooking water for egg substitute? And also if I cook the chickpeas in a slow cooker and then reduce the cooking liquid on the stove afterwards, will that be suitable for an egg substitute. Thank you.
Hi Pamella, This is a great question. I did some research and it seems like people have mixed opinions on baking soda in aquafaba. I’ve not done any testing myself, so its really hard to say. If I were cooking beans with the goal of making aquafaba, I think I would leave out any baking soda.
nice instructions
Thank you! We are so happy all of the extra info was helpful 🙂