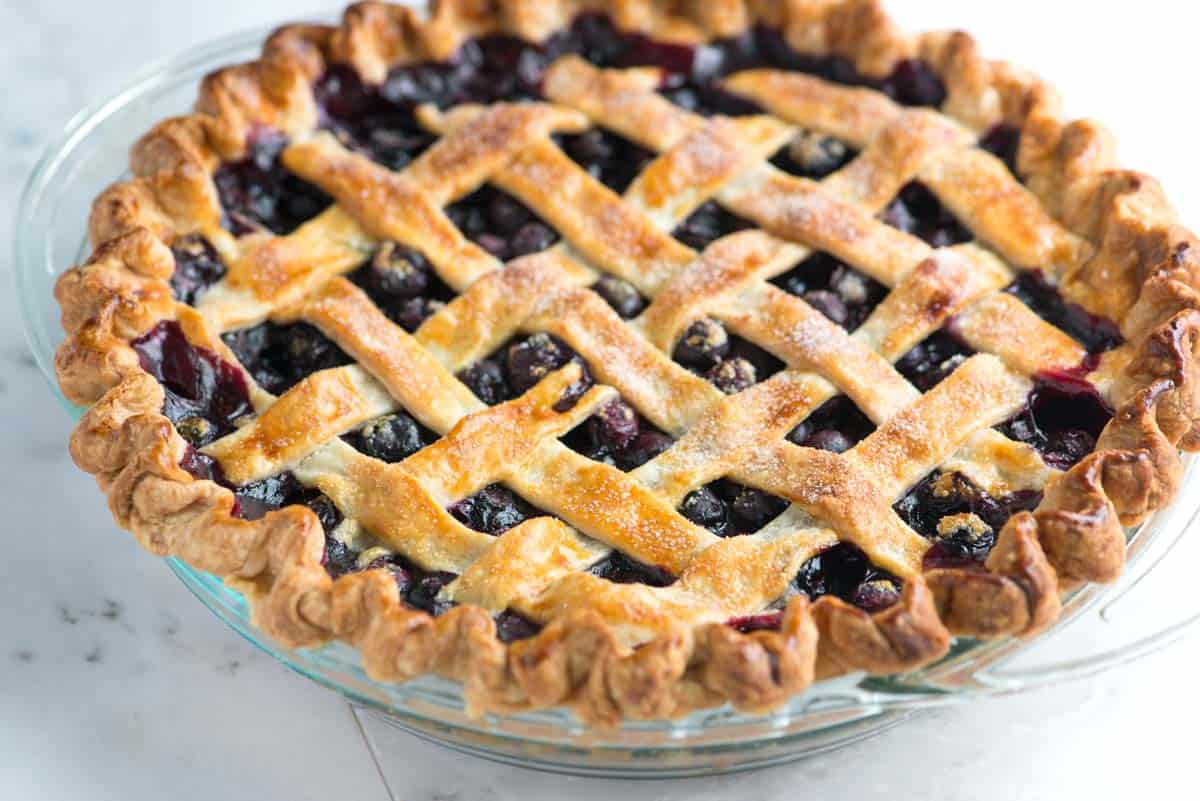
This blueberry pie recipe is the best I’ve made, and it’s also easier than you might think. With our recipe, you’ll have a golden, flaky pie crust filled with the most delicious blueberry filling, all topped with our easy lattice crust.
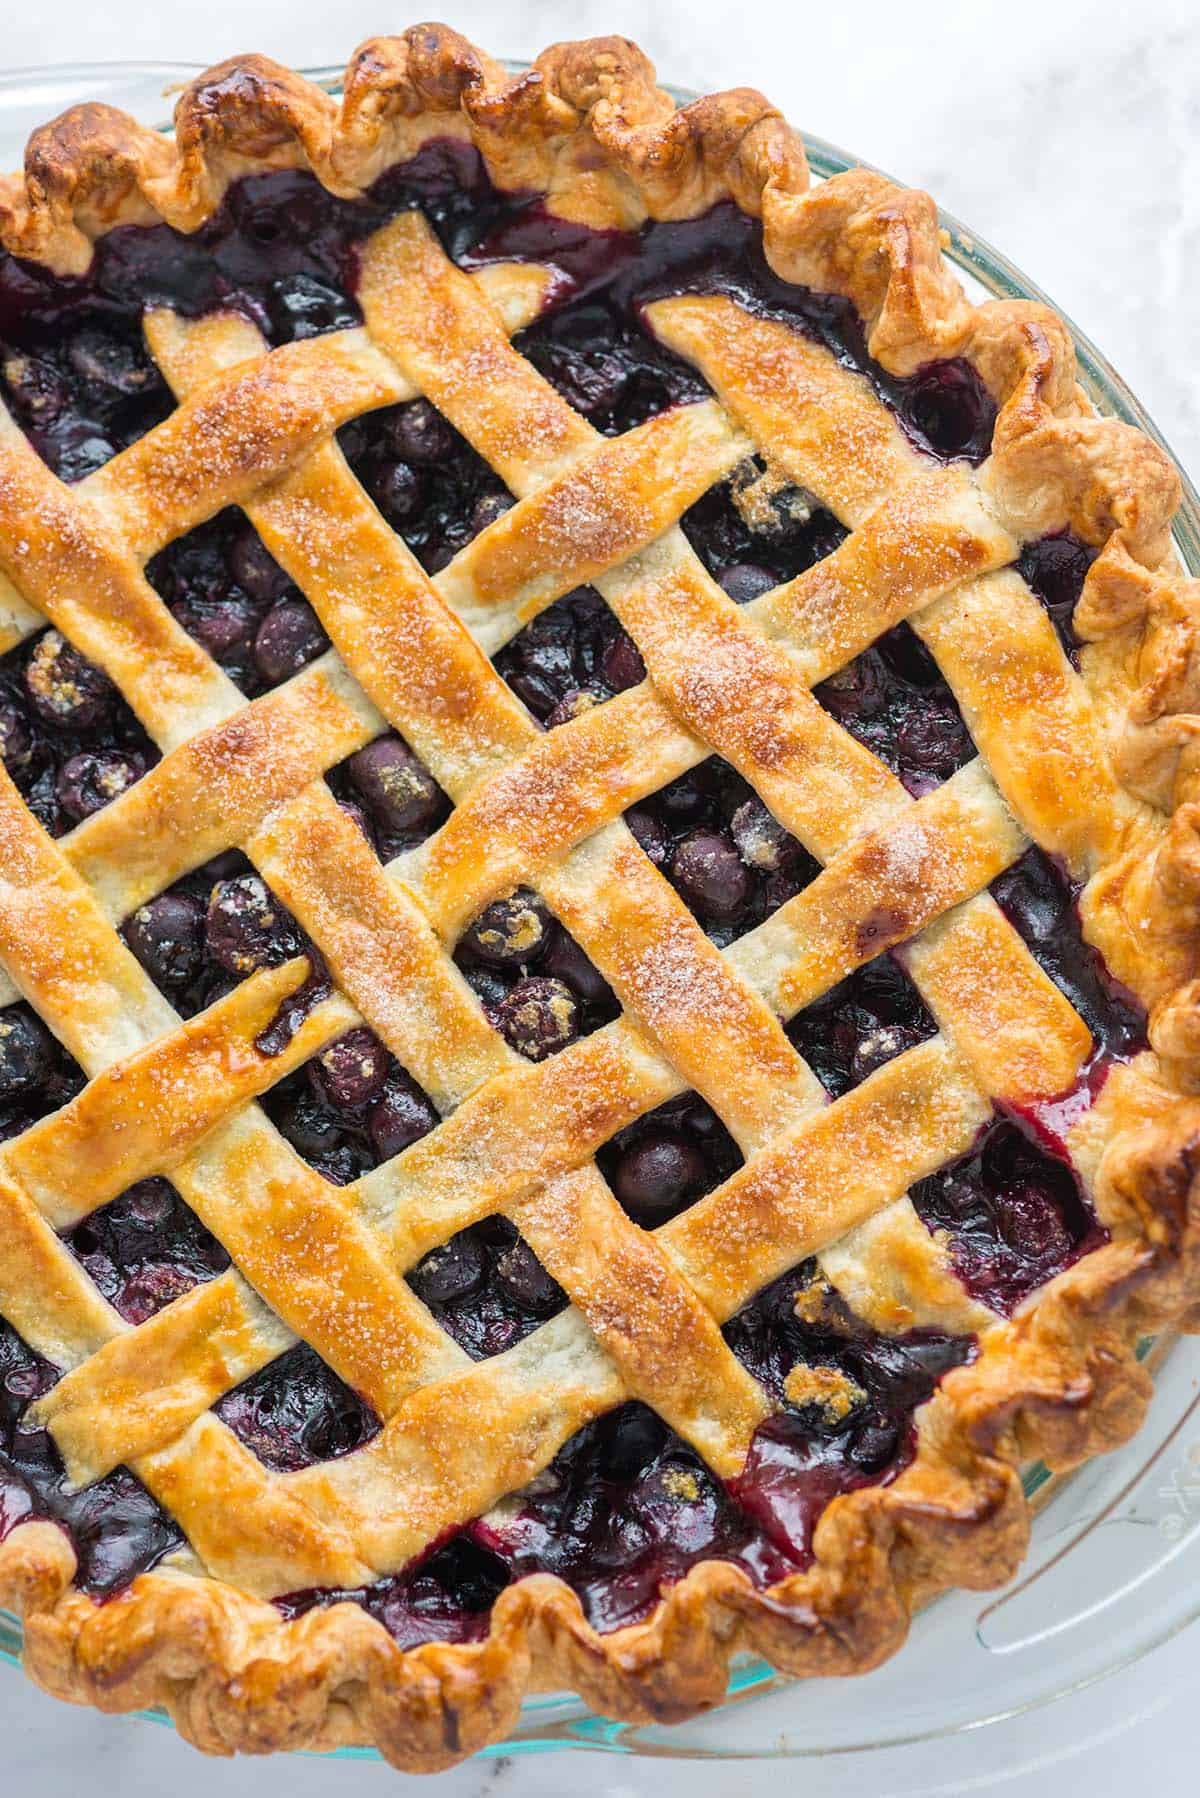
This blueberry pie recipe is so simple! If you’ve never made a pie from scratch, you’re in the right place. I’ll walk you through the whole process.
Blueberries shine in this pie. We keep the blueberry filling simple with sugar, lemon zest, and a little spice. I love it.
Key Ingredients
- Pie crust: You can use homemade or store-bought pastry. I use my favorite flaky pie crust recipe to make this blueberry pie. It’s made with butter and hasn’t failed me yet.
- Blueberries: I love fresh blueberries in this pie recipe. You can use frozen blueberries, but I recommend adding them to the pie while still frozen.
- Sugar: I use granulated sugar in the blueberry pie filling, but brown sugar would be fine. If your blueberries seem really tart, slightly increase the sugar. I’ve included tips for how much below the recipe.
- Lemon zest, cinnamon, and allspice: I love lemon and blueberry together. The cinnamon and allspice add a bit of warmth to the filling, but I only add a small amount since I love it when the blueberries shine.
- Cornstarch: We need cornstarch to thicken the pie filling. Although some recipes call for flour, cornstarch worked best in our testing.
- Butter: A tiny bit of butter makes the filling shiny and extra delicious.
- Egg yolk and cream: We whisk them together for our egg wash, which we brush over the crust. As the pie bakes, the egg and cream make the crust turn golden and shiny.
How to Make Blueberry Pie
I highly recommend starting with our homemade pie crust to make the best blueberry pie pie. It’s simple to make and never fails (I talk about our favorite pie crust recipe here). When you’ve got your pie dough made, you’ll need to roll it out. We’ll use half of the dough for the bottom crust and half to lattice the top of our pie.
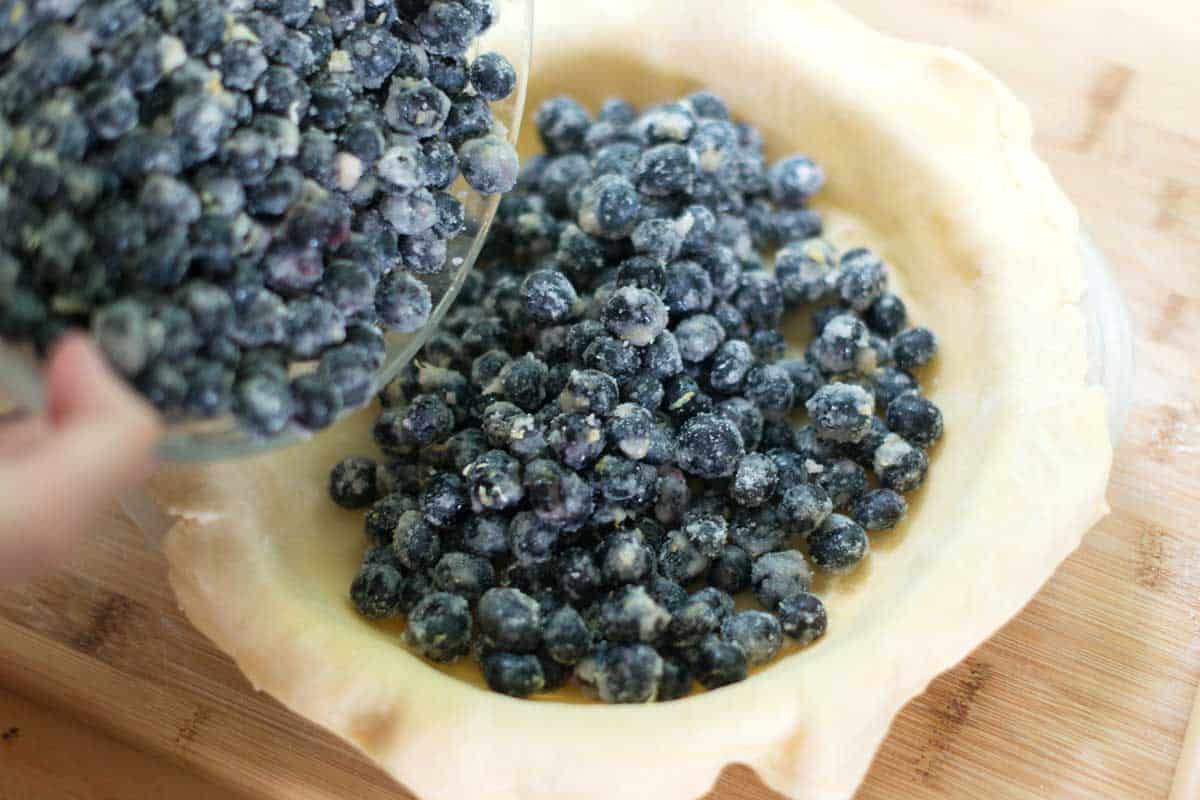
My favorite blueberry pie filling is simple! We toss blueberries with sugar, cornstarch, cinnamon, allspice, salt, and a little lemon zest and then add it to our pie crust.
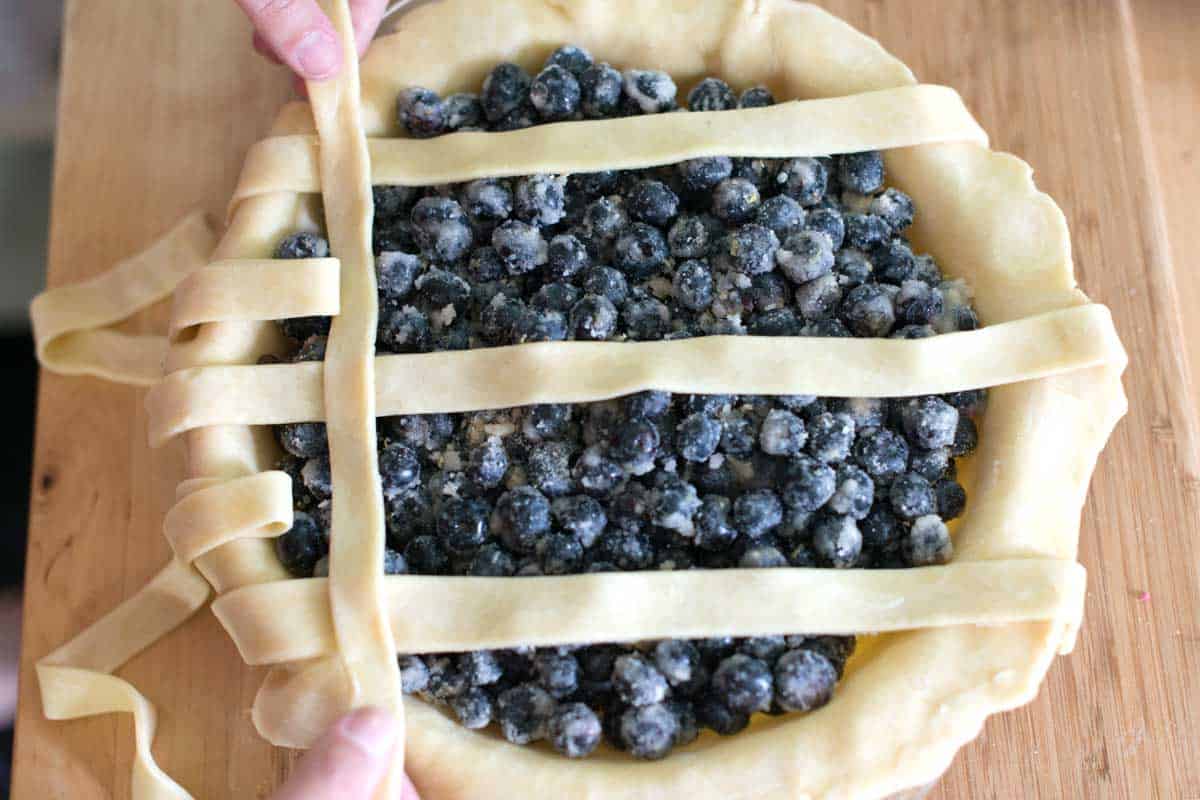
I love adding a lattice crust to blueberry pie. The juices in the filling bubble out over the lattice, making the pie look perfectly humble and homemade. If you’ve never added a lattice crust, it can seem daunting, but you can do it! It’s easy (we promise), and if you watch the video, we walk you through the entire process.
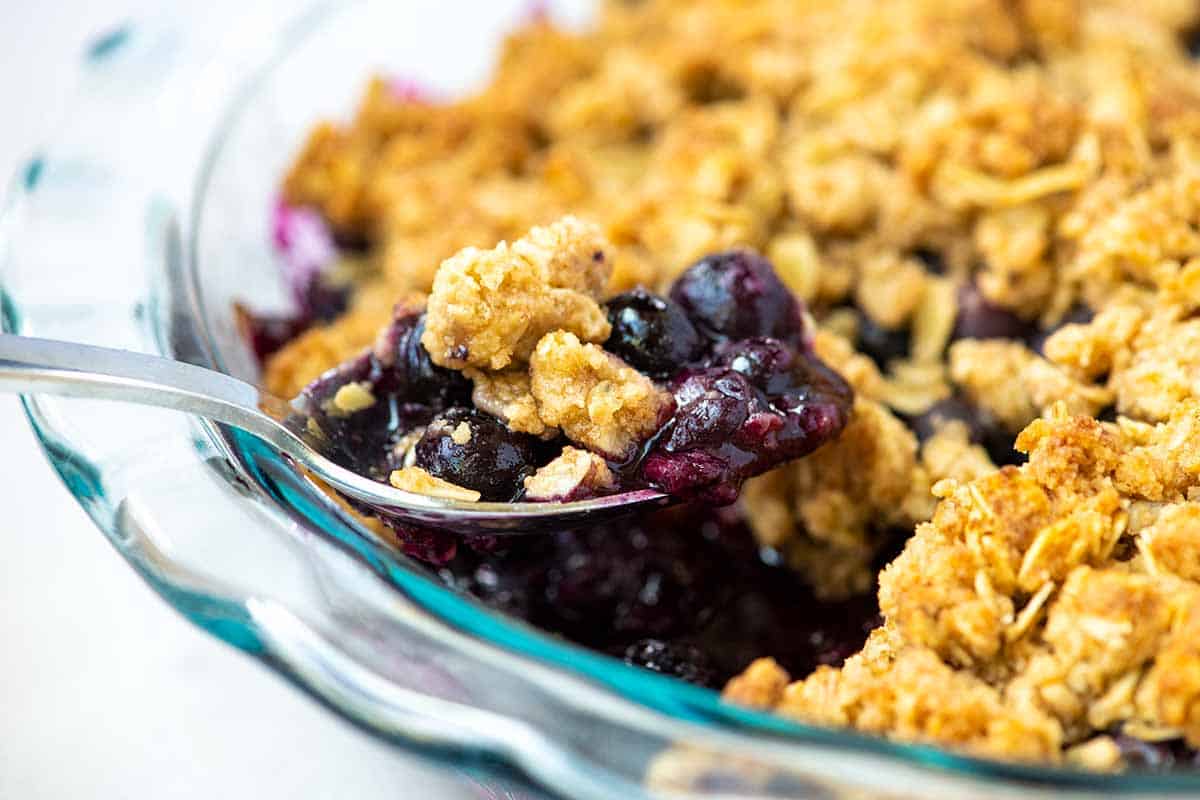
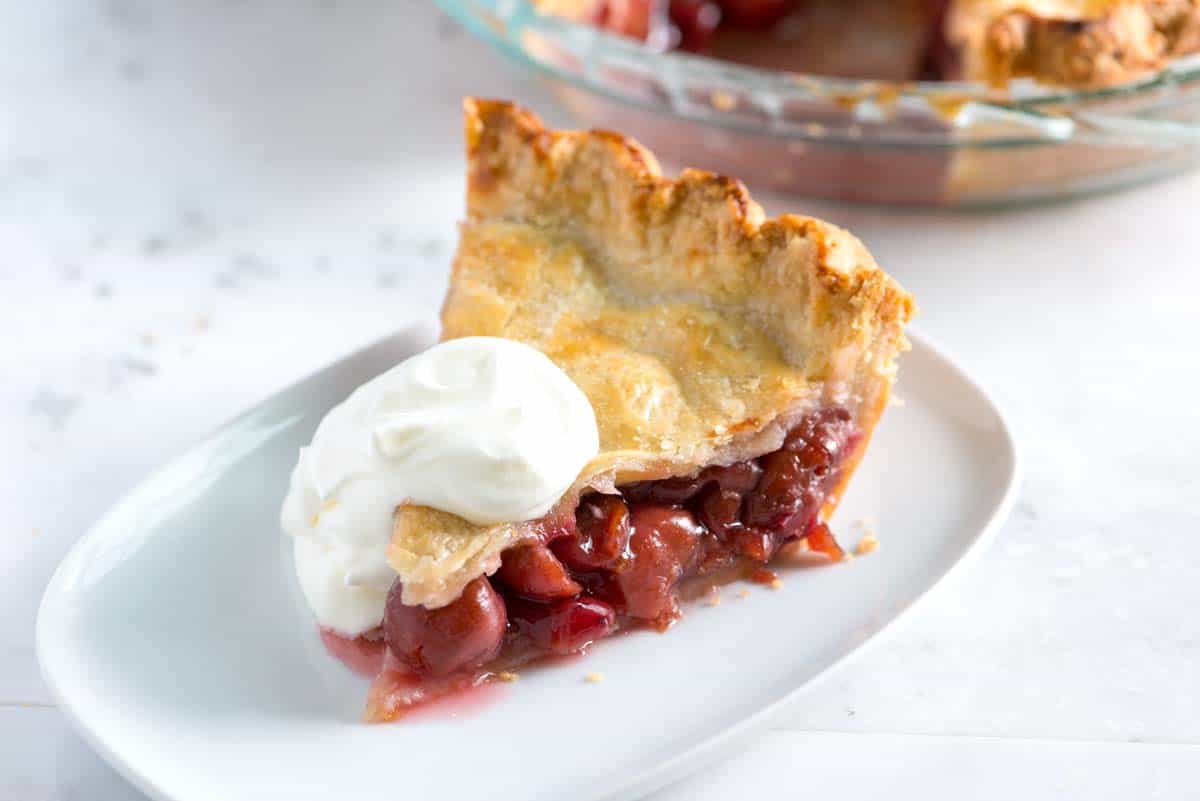
If you don’t want to go the lattice route, you can always place a sheet of dough over the filling and then add slits to the top (like we did for this cherry pie). Or add a crumble topping, like the one we used for this delicious blueberry crumble.
Before baking, I brush the crust with a rich egg wash made from egg yolk and cream. Then we bake until bubbling and golden brown.
The most difficult part of making homemade blueberry pie is waiting for it to cool. You need to wait 2 to 3 hours before cutting it. Otherwise, the filling will spill out and make the crust soggy. Then, serve the pie with ice cream or whipped cream. I also love coconut whipped cream.
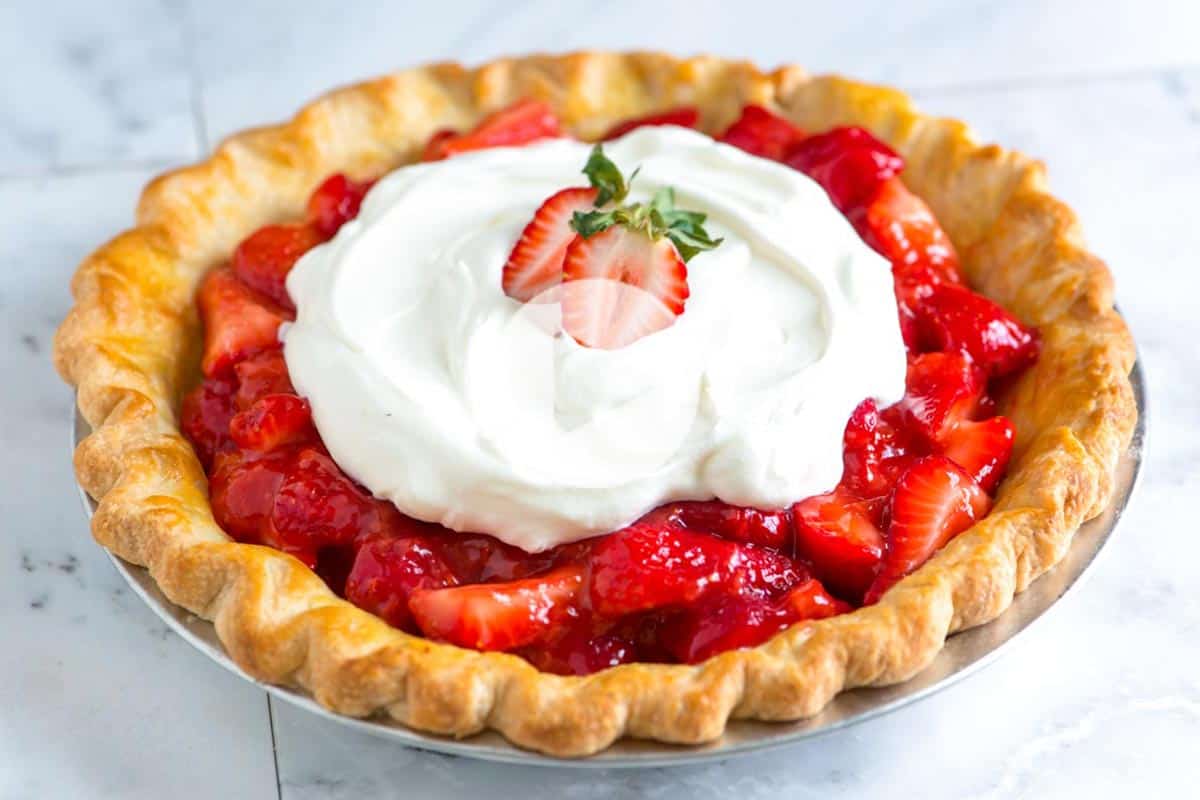
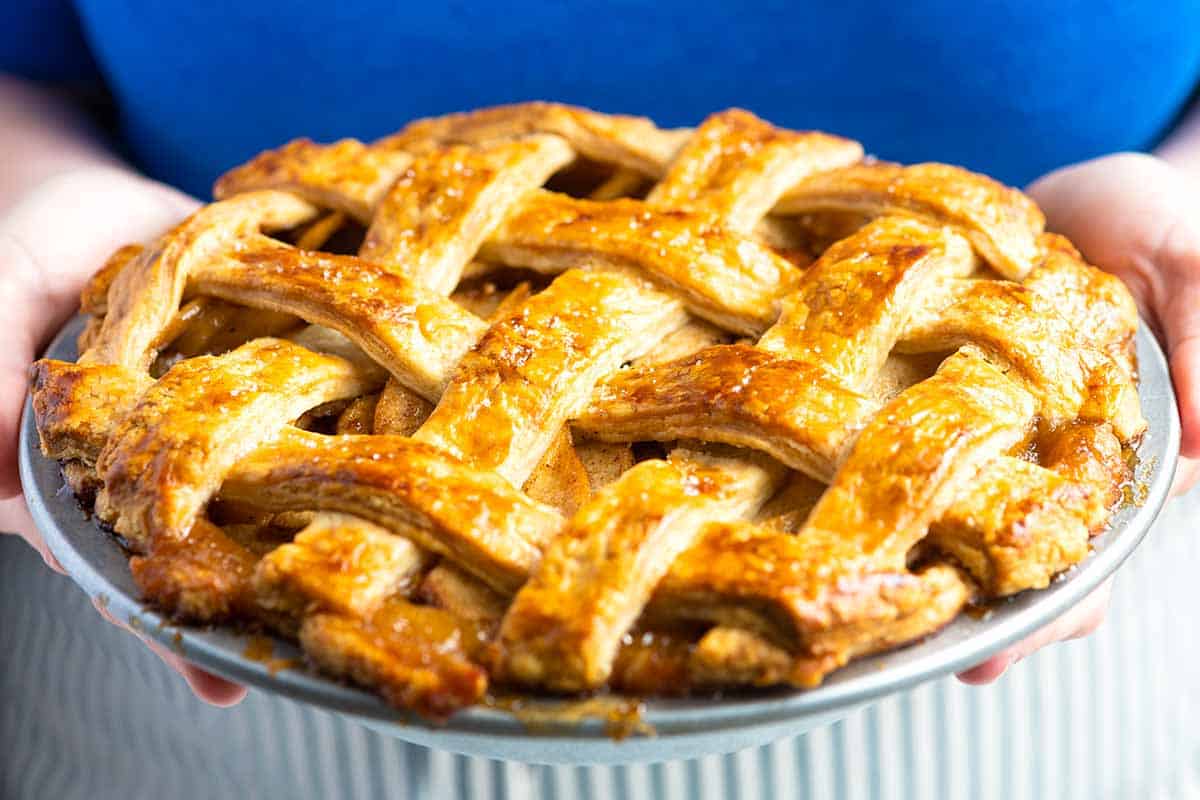
More Easy Pie Recipes
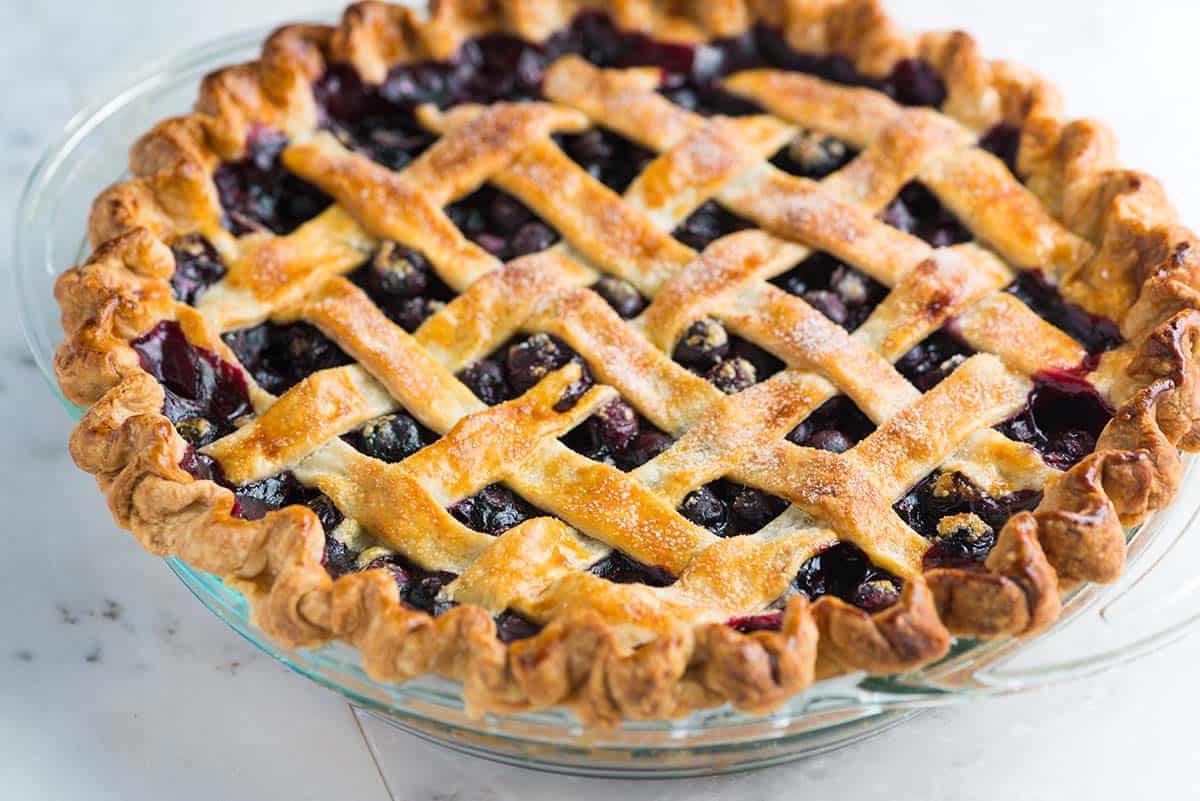
Best Blueberry Pie We've Ever Made
- PREP
- COOK
- TOTAL
Blueberries shine in this homemade blueberry pie. We love adding a lattice crust and have shared step-by-step instructions in the recipe below. I highly recommend watching our helpful video, which walks you through each step of making this blueberry pie.
If you do not add the lattice, you can top the pie with a full sheet of pie dough. Be sure to cut a few slits to allow steam to escape before baking.
Blueberry pie is finished baking when you see the juices in the filling bubbling. If you remove the pie before the filling bubbles, the filling will be too thin and run out onto your plate after slicing.
Watch Us Make the Recipe
You Will Need
1 (9 inch) double crust homemade pie crust, our recipe makes enough for 2 single crust pies
2 pounds (900g) fresh blueberries, about 6 cups
2/3 cup (130g) granulated sugar
1/4 cup (30g) cornstarch
2 teaspoons lemon zest
1/8 teaspoon ground cinnamon
1/8 teaspoon ground allspice
1/8 teaspoon fine sea salt
1 tablespoon (14g) butter, cut into small squares
1 egg yolk
1 tablespoon heavy cream
1 tablespoon coarse sugar, for top
Directions
- Prepare Bottom Crust
1Roll out half of the pie dough to fit a 9-inch pie dish (keep the remaining dough chilled). To prevent sticking, sprinkle flour on your work surface and rolling pin. Roll from the center outwards for even thickness, lifting and rotating the dough by a quarter turn as you go. Check the size by inverting the pie dish over the dough (it should be about 2 inches larger).
2Carefully place the dough into the pie dish without stretching it, and trim the edges to within 1 inch of the dish. Refrigerate while you prepare your filling.
- Make Pie Filling
1In a large bowl, combine the sugar, cornstarch, lemon zest, cinnamon, allspice, and salt. Add the blueberries and gently toss to coat them evenly.
2Transfer the blueberry filling to the prepared pie crust, and then place the pie back into the refrigerator while you prepare the lattice crust.
- Add Lattice Crust
1Roll out the remaining dough to a similar size as the first piece and cut it into ¾-inch wide strips. Lay five strips over the filled pie, keeping them parallel and evenly spaced.
2Gently fold back the second and fourth strips, then lay another strip of dough perpendicular to them. Unfold the folded strips. Repeat folding back the first, third, and fifth strips and laying another perpendicular strip. Continue until the pie is covered. Check out our How to Make a Lattice Crust video for a visual guide.
3Trim any excess dough to ¾-inch from the dish edge. Fold the edges of the lattice and the bottom crust under, making a thicker border on the dish’s lip. Crimp the edges as desired. Dot the butter over the open lattice areas.
4Whisk the egg yolk and cream to create an egg wash, then brush it over the crust. Sprinkle with coarse sugar and refrigerate the pie for 10 minutes before baking.
- Bake the Pie
1Before baking, position an oven rack in the lower third of the oven and place a baking sheet on it. This will catch any potential drips from the pie. Preheat the oven to 400°F (204°C).
2Place the pie on the hot baking sheet and bake for 20 minutes. Then, reduce the oven temperature to 350°F (177°C) and continue baking for another 35 to 45 minutes. The pie is done when the crust is golden brown and the filling is bubbling enthusiastically.
3If you notice the crust edges browning too quickly, cover them with aluminum foil and continue baking until the pie is fully cooked.
4Allow the pie to cool for two to three hours before cutting for the best results (this gives the filling time to thicken and set properly).
Adam and Joanne's Tips
- Storing: Homemade blueberry pie lasts up to 2 days, covered on the counter or in the fridge for up to 5 days. For the best results, wrap the pie with plastic wrap or store it in an airtight container. Baked blueberry pie can be frozen for up to 3 months when wrapped tightly in plastic wrap and aluminum foil. Thaw overnight in the fridge.
- Blueberries: I prefer this pie with fresh blueberries. If you use frozen blueberries, do not thaw them first. The pie will take longer in the oven if you use frozen blueberries.
- Sugar: Feel free to add more sugar if your blueberries are more tart, as they often are in the wintertime. 2/3 cup (135g) is perfect for sweet blueberries. You can increase to 3/4 cup (150g) if required.
- The nutrition facts provided below are estimates.


From scratch, turned out great! I hacked the recipe a little. I used a lime instead of lemon, zested it, minced it w/o the white pulp, and added it to 1/2 cup tart cherry juice. Then with the sugar, spices, butter and corn starch I pre-thickened then cooled this before adding it to the frozen Blueberries. Really, just a little different way to add those items, with a little different background taste. I worried about it being too juicy so I didn’t skimp on the corn starch. Baked as per your instructions and it came out perfect.
Made from scratch for the first time and it turned out absolutely amazing!
Hi Alyson, That’s so disappointing to hear about the soggy crust! To troubleshoot, I’d double-check that you used cornstarch and let the filling bubble before removing it from the oven. Also, blueberry pie needs to cool completely to set properly.
First time making blueberry pie and it turned out amazing! I added 5g more cornstarch because I was paranoid it would turn out too watery, plus the blueberries I used were huge (i.e., full of water). Used sugar as instructed since the fruit was already moderately sweet. I also left it in the oven for maybe 20 more minutes than stated (and covered edges w foil as instructed after about minute 35-40). I was waiting for it to bubble “enthusiastically”! The pie gods were smiling down on me because all these game time decisions left me with a seriously good fruit pie. Not too wet, not too dry, not too sweet, not too bland. Thank you for this recipe!
The crust was perfect. The blueberry pie recipe was the worst we ever tried to eat. I waited like recommend time, even longer. It was sour soup. I’m going back to tapioca instead of cornstarch. It was a waste of precious blueberries.
This pie is fabulous! I did use part fresh blueberries and part frozen. Added a couple tablespoons of Tapioca to the filling as well. Thank you so much for sharing this recipe. Delicious.
I made the blueberry pie and mine came out very yummy but it did not set and that made it juicy I live in Georgia so maybe I need to and more cornstarch. So what’s your give on this
For years I have been terrified of making pies after several frustrating experiences with unworkable dough. However, I decided to give your recipe a try for the 4th of July and was AMAZED at how easy it was to work with! I had also never tried a blueberry pie before, and this one was delicious. The filling was perfectly thick, and I thought the dash of cinnamon and allspice was a really nice touch. This will be my go-to pie dough from now on, and I’m looking forward to trying more recipes on your site. Thank you for helping me overcome my fear of pies!