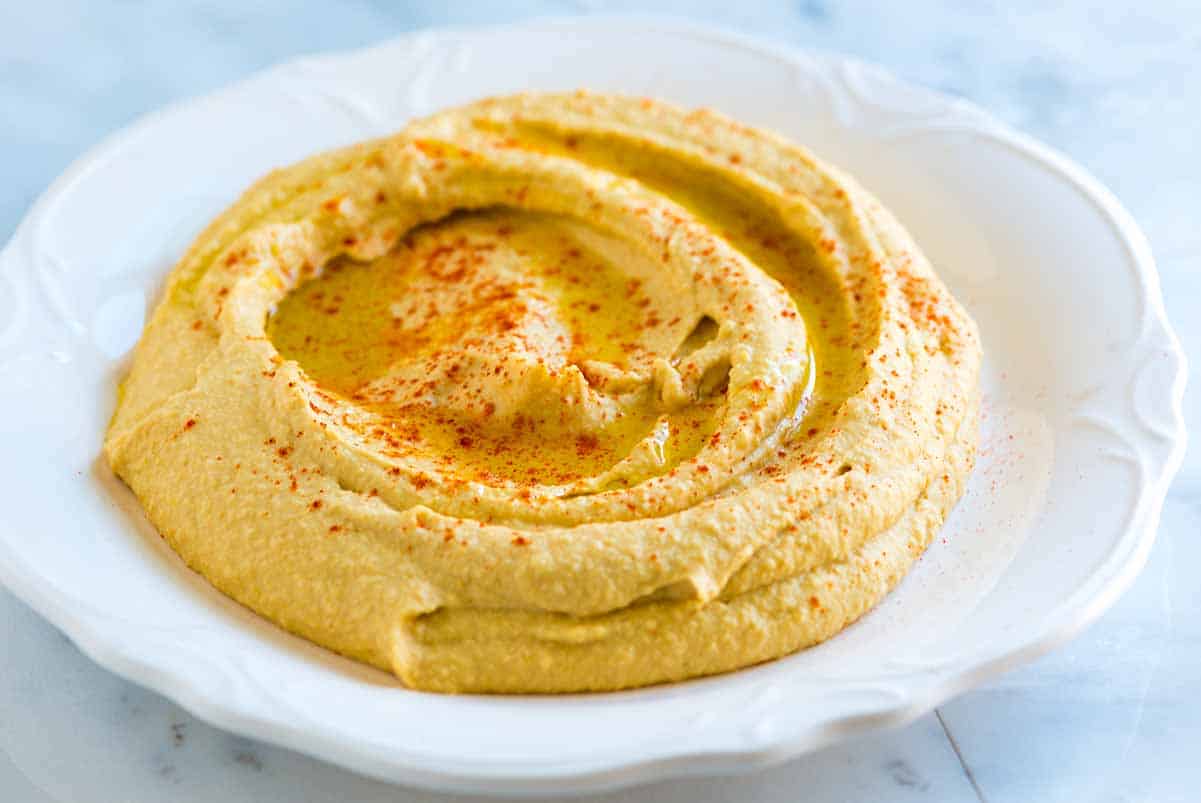
My favorite hummus recipe! With a few simple tricks, you can make the best creamy, smooth homemade hummus, and yes, it’s better than store-bought.
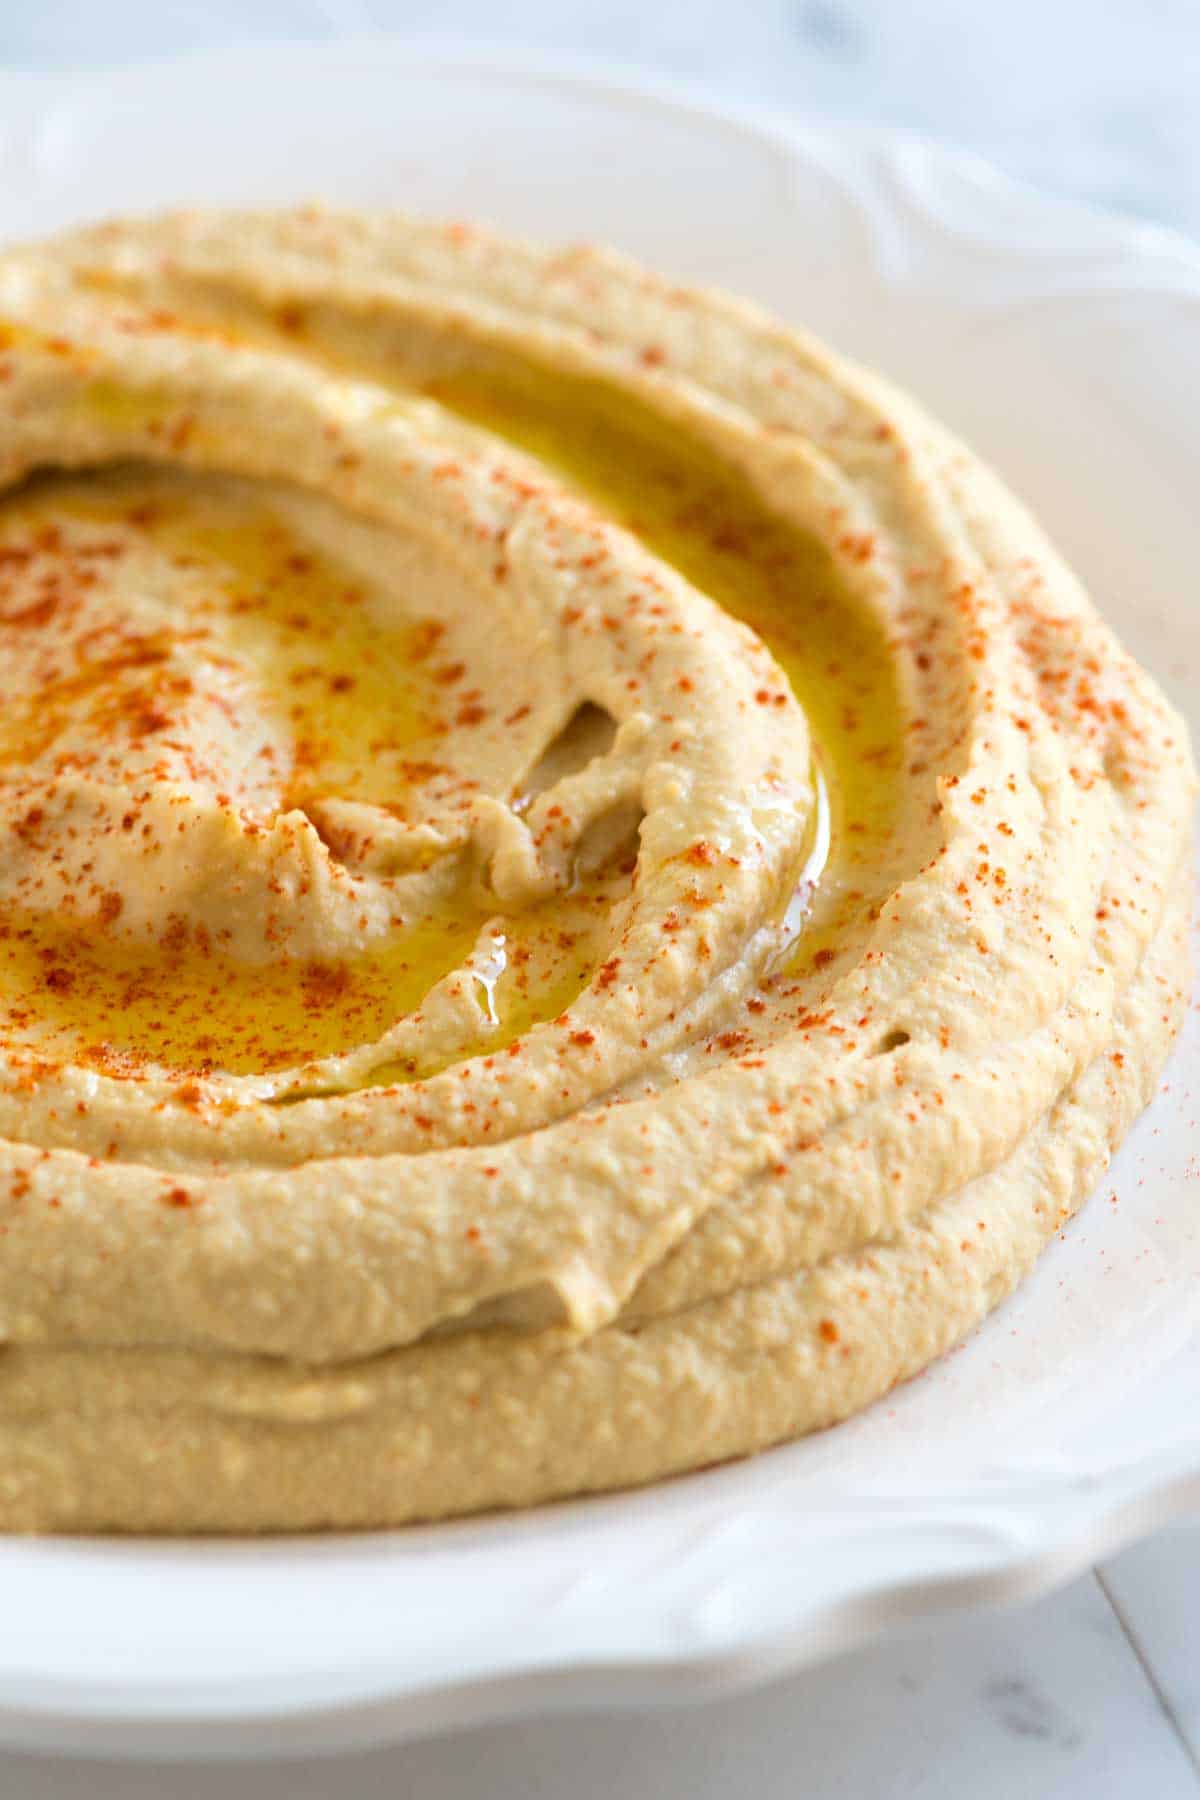
Hummus is a delicious spread (or dip) made from chickpeas, tahini, lemon, and spices. It is a popular dish in the Middle East and the Mediterranean. You can find it in most grocery stores, but trust me, you’ll want to skip those and make your own. Homemade hummus is just so much better!
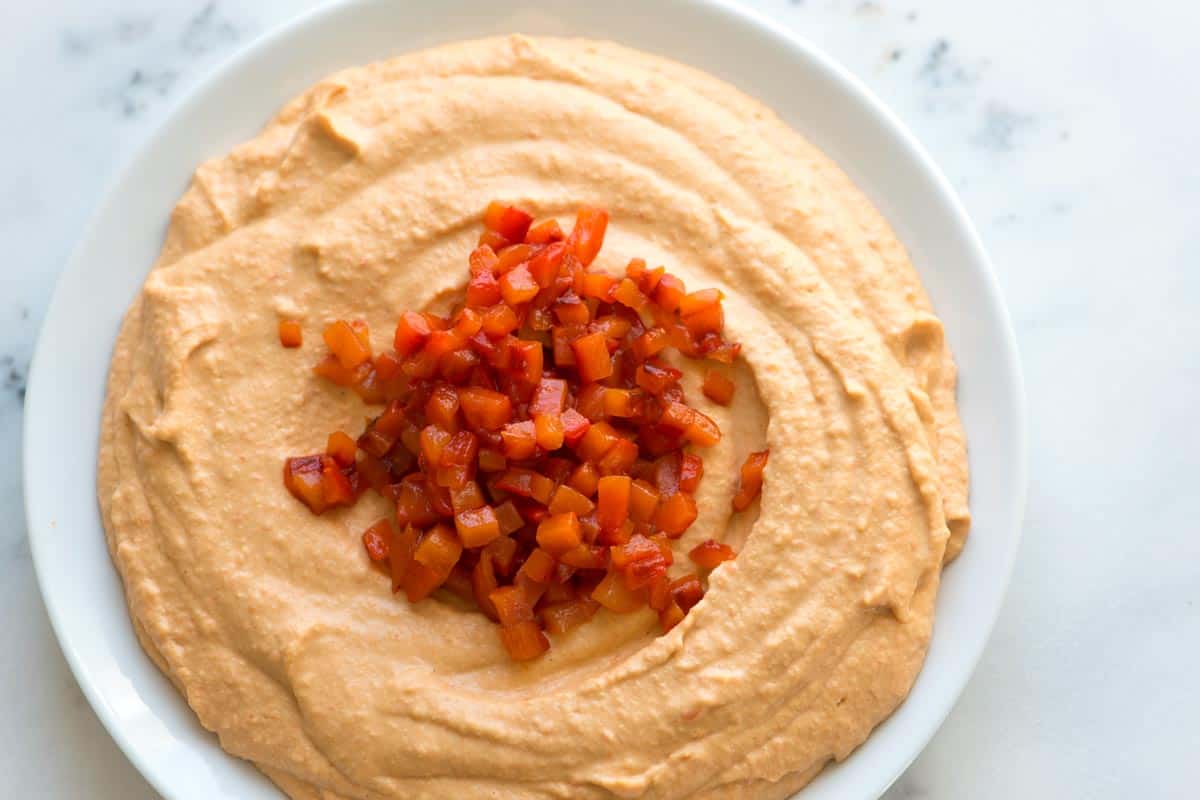
This hummus recipe is a keeper (our family’s been making it for years!). So many of our readers swear it’s their forever hummus recipe, too. I’ve also shared our recipe for roasted red pepper hummus, which I bet you’ll also love!
Key Ingredients
- Chickpeas (or garbanzo beans): These are the base for my hummus, and they can be canned or cooked from scratch. I use both, but homemade chickpeas have a slightly better flavor.
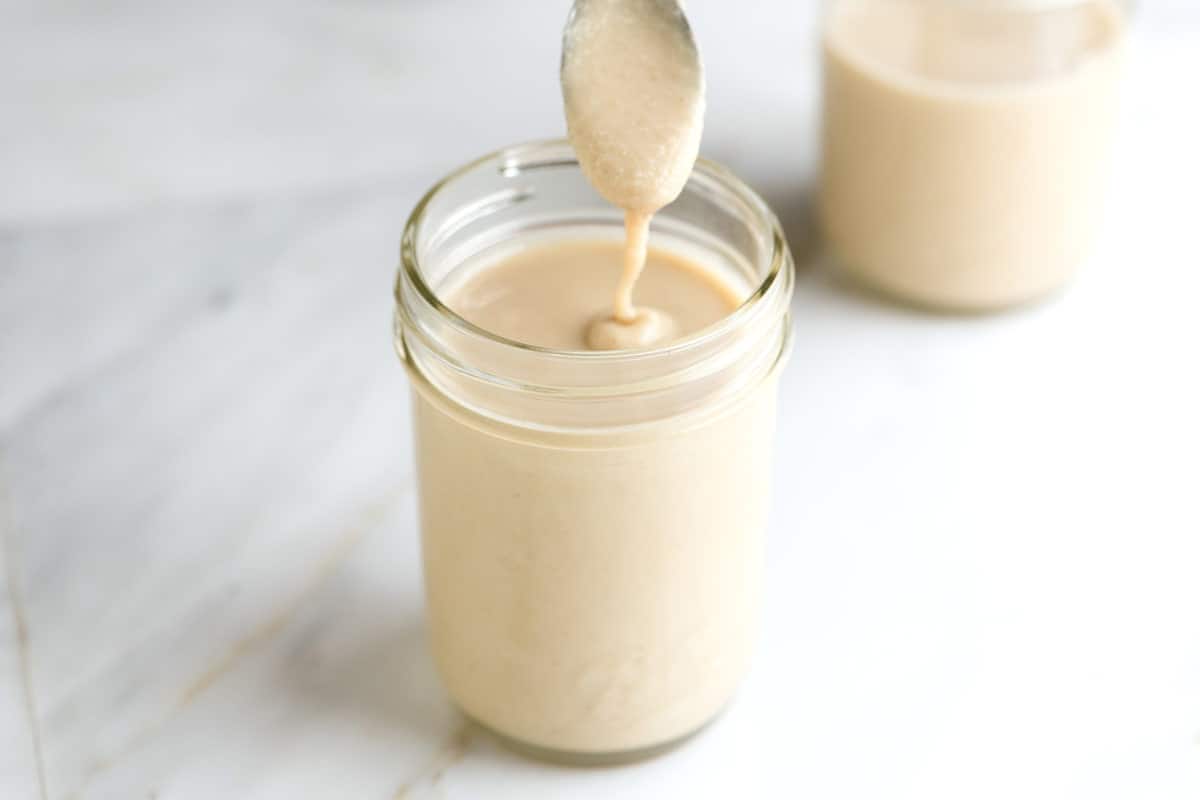
- Tahini: This sesame seed paste makes the hummus so delicious. You can buy it at the store or make your own. I prefer homemade because it makes my hummus 100% from scratch. Here’s my homemade tahini recipe. To make hummus without tahini, see my tips below the recipe.
- Lemon juice: Skip the bottled stuff! Fresh lemon juice makes all the difference in great hummus.
- Garlic: I use one small clove for just the right amount of flavor, but you can add more for a stronger garlic flavor or use roasted garlic instead. Here’s how to roast garlic.
- Ground cumin and salt: Both improve the flavor of our hummus, and the cumin adds a little extra richness and spice. In our video, I sprinkle Za’atar seasoning on top for serving, which I love!
- Olive oil: This gives my hummus a luxuriously smooth texture. I also like to drizzle a little extra on top when serving. Fruity, light-flavored olive oils are my favorite for making hummus.
How to Make Hummus from Scratch
The secret to the best hummus is all about the order in which you blend your ingredients! Seriously, this simple trick makes a huge difference.
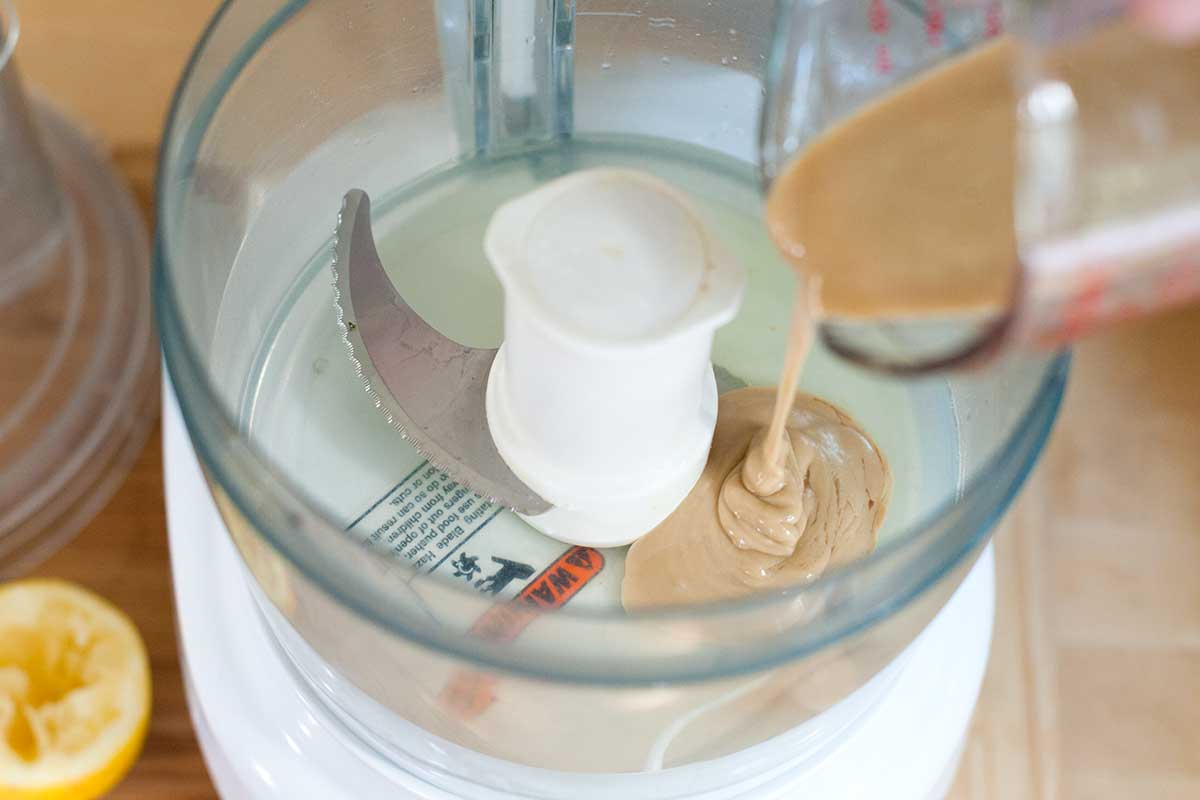
Tahini and lemon juice go in first. Then, before you add anything else, turn on the food processor and let it run for a minute or two. See the photos below? In the first photo, I’m pouring tahini into a clean food processor.
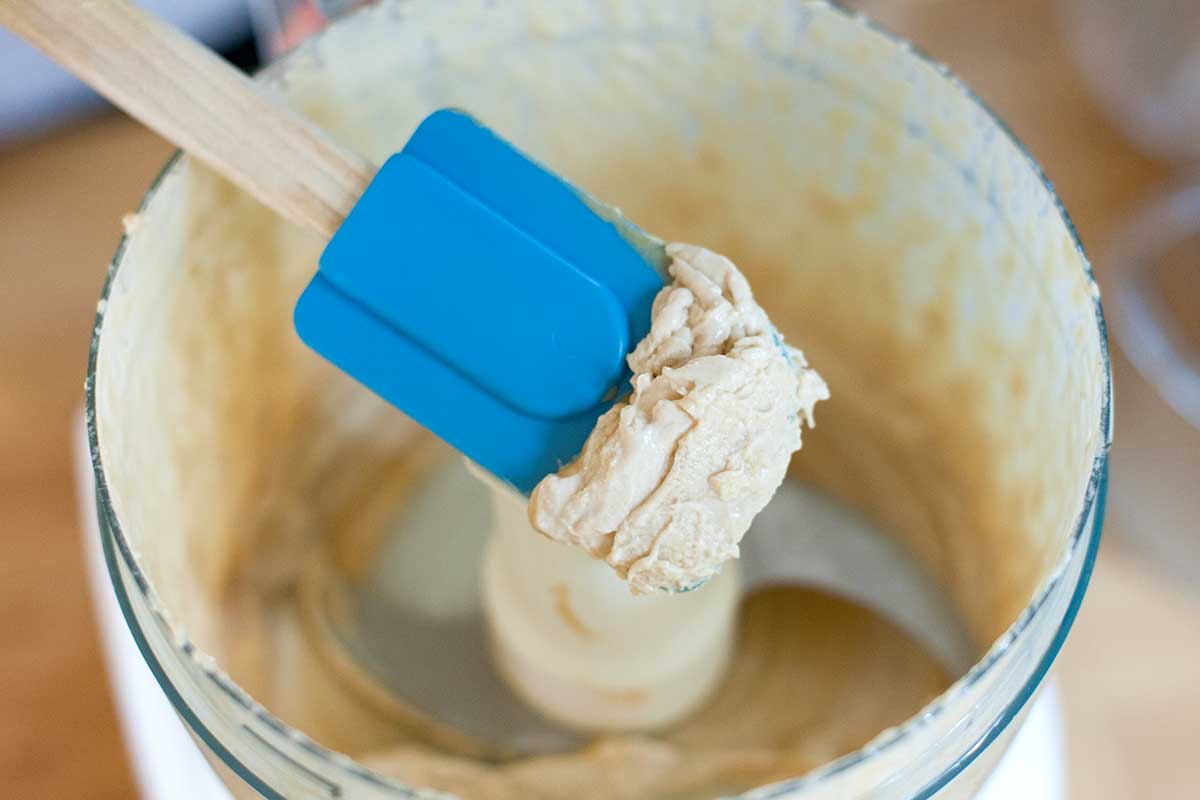
After a minute of being whirled, whipped, and creamed in the food processor, it turns into the paste you see in the next photo. It’s lighter in color and much thicker.
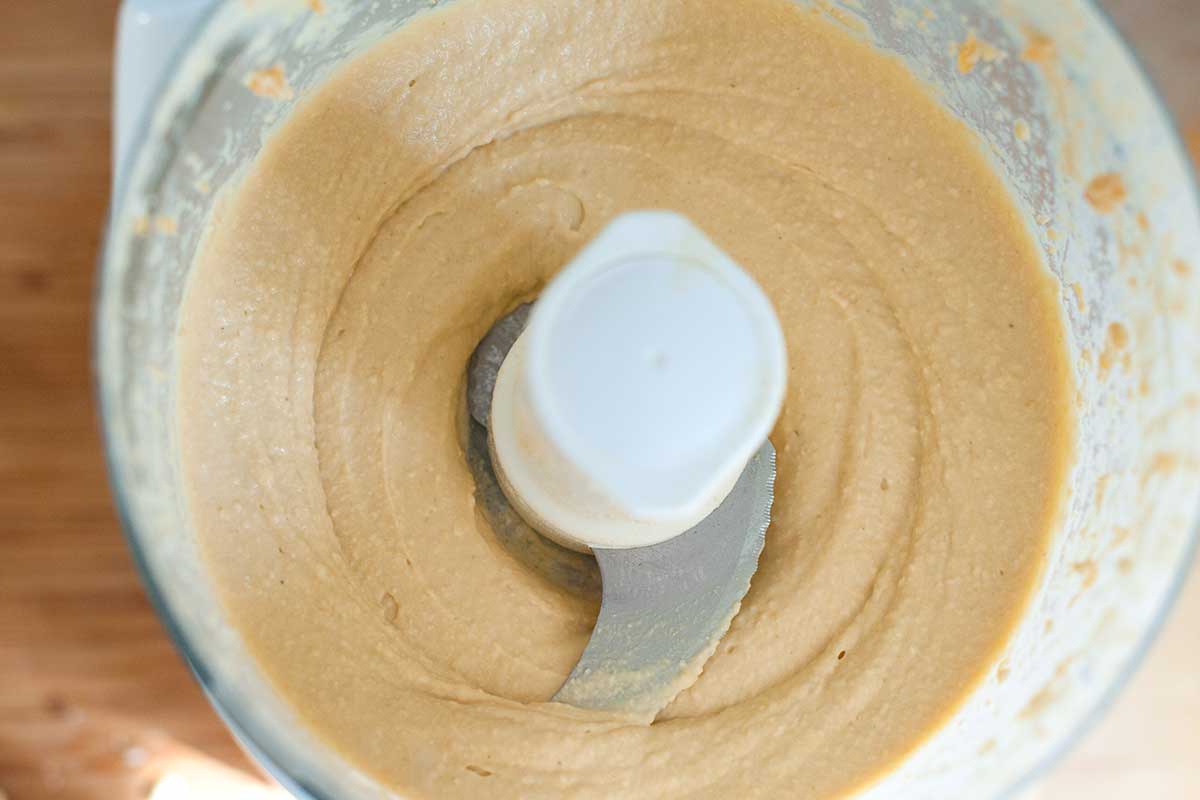
Now, we can add the remaining hummus ingredients. I like adding the chickpeas in two batches, processing the first batch for a minute before adding the rest. Then, I stand back and let my food processor run.
When it looks close to done, I add a splash of cold water while the processor is still running. After a few tablespoons of water, the mixture transforms into fluffy, creamy, whipped hummus.
I use cold water, but aquafaba (chickpea liquid) works incredibly well, too. If you want to learn more about it, here’s our ultimate guide to aquafaba. Some of our readers have also suggested using ice cubes instead of the water.
Do You Need to Peel the Chickpeas for Hummus?
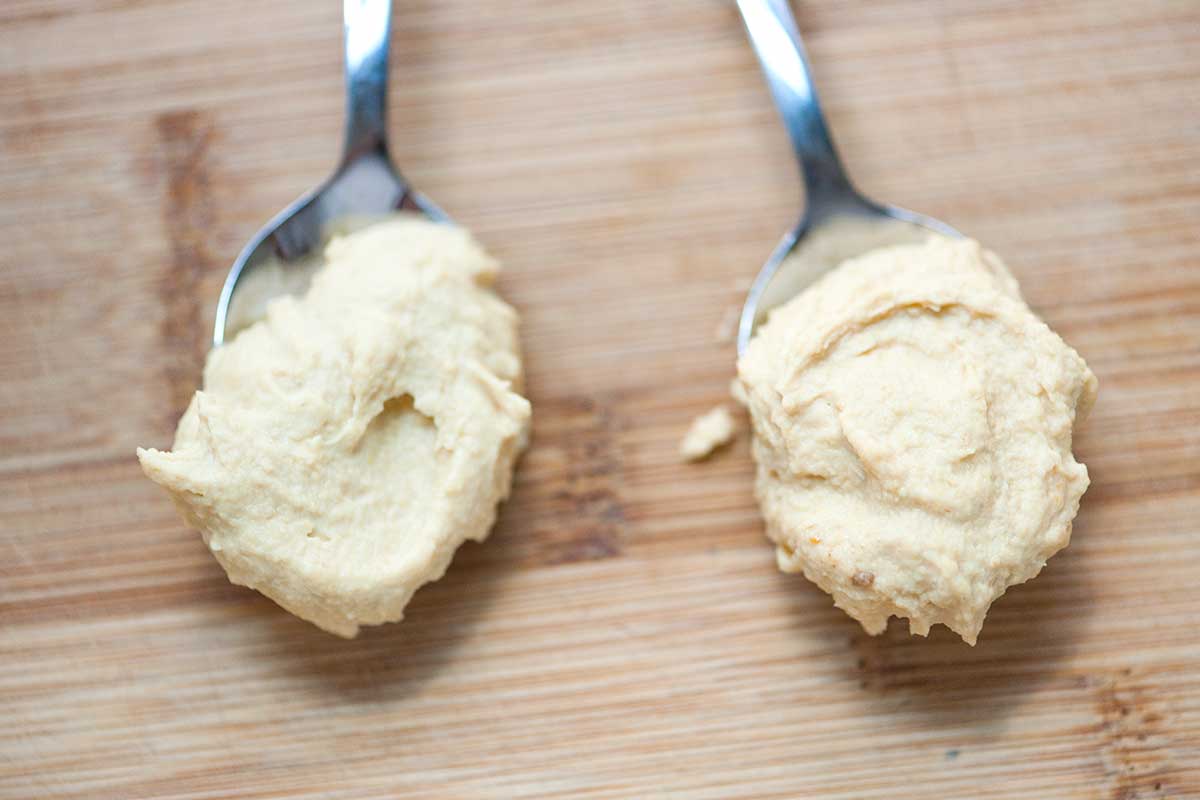
I usually skip peeling my chickpeas when making hummus, but it’s totally up to you! If you have some extra time and want the absolute smoothest texture, go ahead and peel them. It takes about 10 minutes to peel a can, and it does make a subtle difference. The photo below shows slightly smoother hummus made with peeled chickpeas on the left.
Even though the peeled chickpeas make a slightly smoother hummus, the difference isn’t huge. So, if you’re short on time, skip peeling. Your hummus will still be delicious! For more recipes with chickpeas, see all of our chickpea recipes.
What to Serve with Hummus
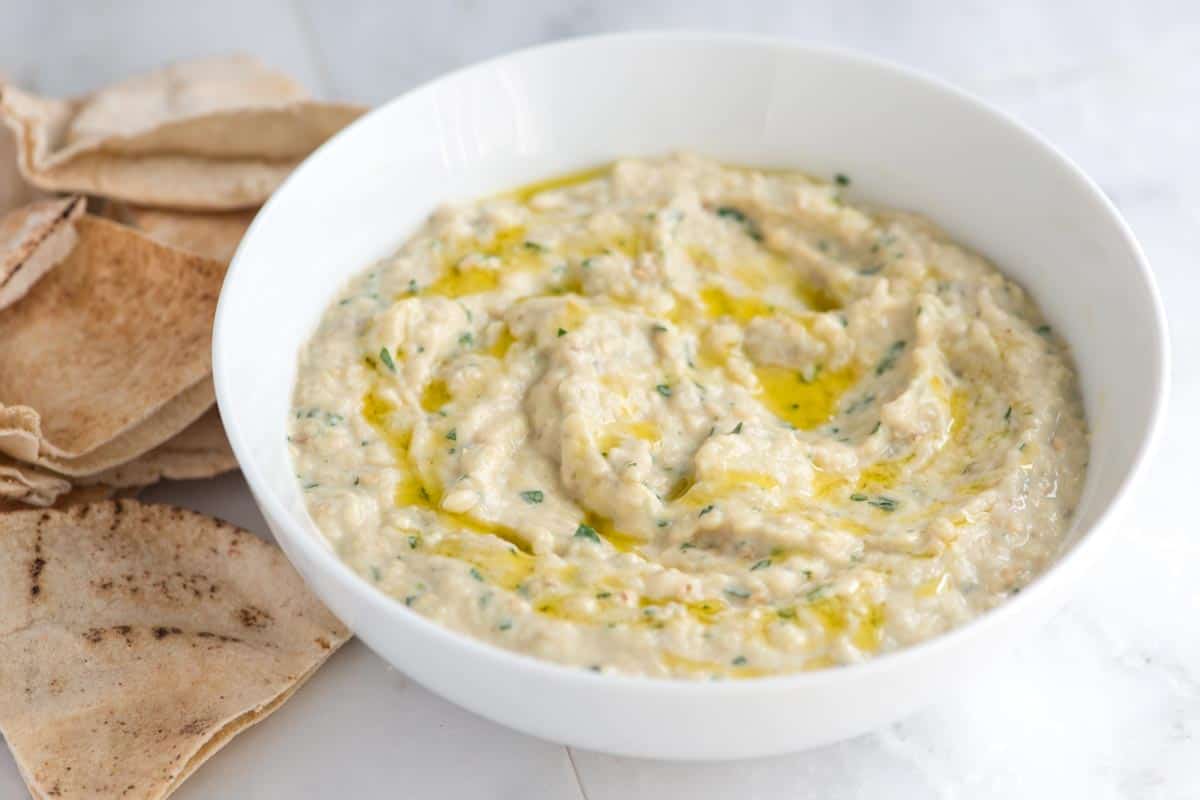
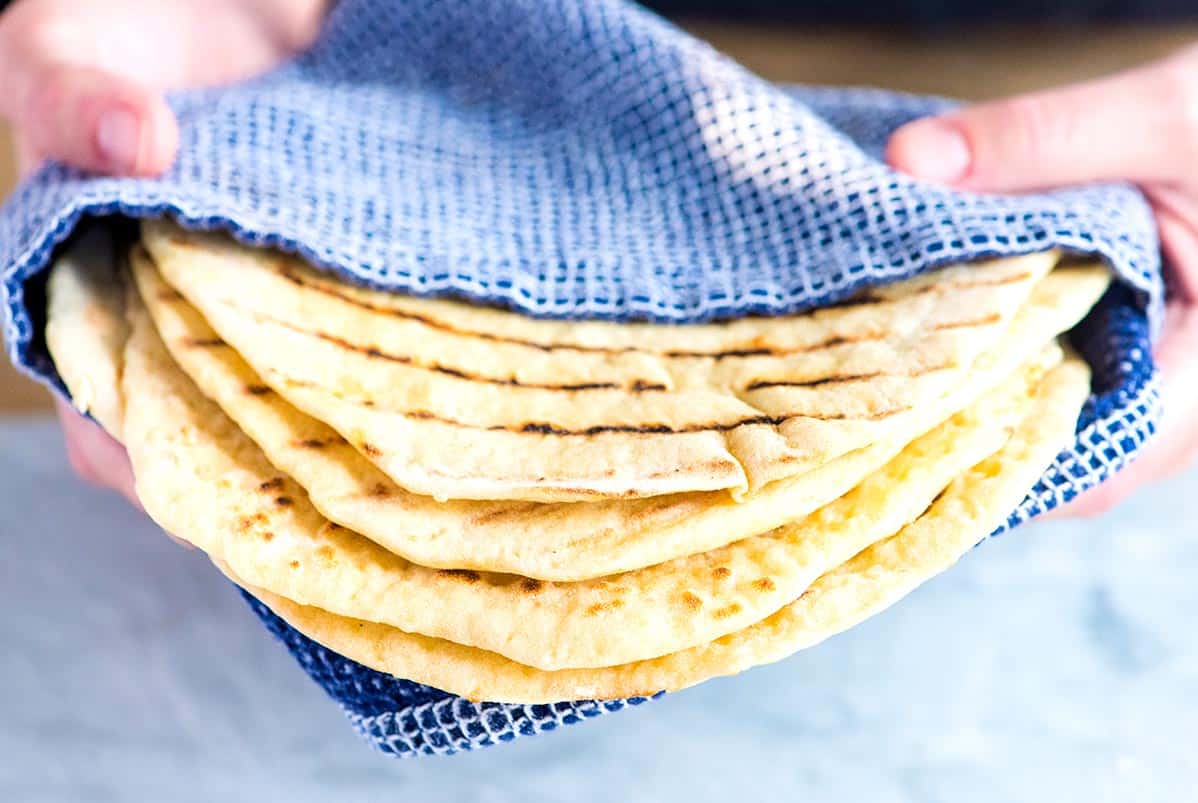
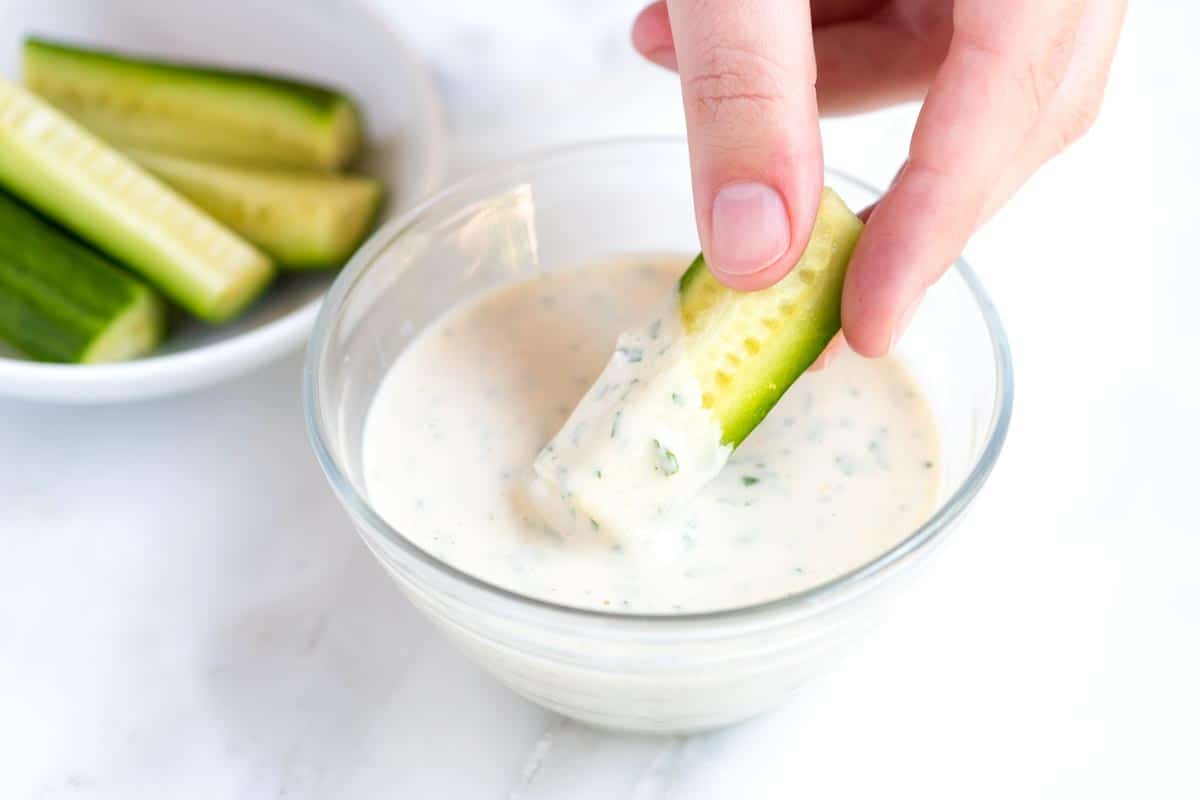
There are so many delicious ways to enjoy hummus! I love dipping fluffy flatbread, homemade pita bread, or fresh, crunchy veggies in it. It’s also delicious, next to other spreads and dips, like my homemade baba ganoush (a roasted eggplant dip), tzatziki sauce, homemade labneh, and our incredible tahini sauce. For extra flavor, try adding some toppings, as I do for my spiced beef and feta hummus.
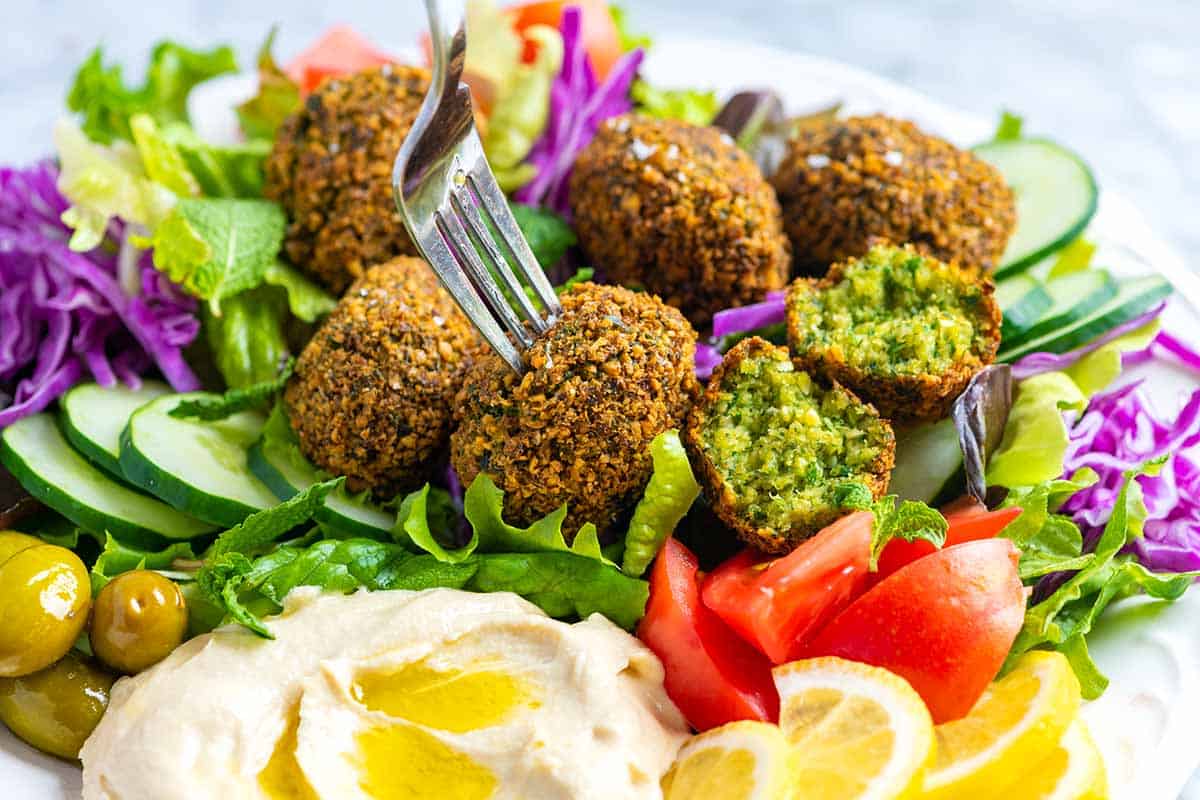
Hummus is also great on sandwiches and wraps, alongside homemade falafel, or as a healthy, flavorful filling for lettuce wraps. I’ve even got a recipe for easy hummus cups with cucumber and tomato if you want something quick and easy.
Easy Hummus (Better than Store-Bought)
- PREP
- TOTAL
Homemade hummus is easy to make and tastes much better than anything you can buy at the store. You will need tahini, a paste made from sesame seeds. Buy it or make it yourself. Here’s our homemade tahini recipe, which I highly recommend for the best homemade hummus! To leave it out, add more olive oil.
Watch Us Make the Recipe
You Will Need
1 (15oz) can chickpeas, drained or 1 ½ cups (250g) cooked chickpeas
1/4 cup (60ml) fresh lemon juice, 1 large lemon
1/4 cup (60ml) well-stirred tahini, try our homemade tahini recipe
1 small garlic clove, minced
2 tablespoons (30ml) extra-virgin olive oil, plus more for serving
1/2 teaspoon ground cumin
Salt to taste
2 to 3 tablespoons (45ml) cold water or aquafaba
Dash ground paprika, sumac, or Za’atar for serving
Directions
1In the bowl of a food processor, combine the tahini and lemon juice and process for 1 minute. Scrape the sides and bottom of the bowl, then process for 30 seconds more. This extra time helps “whip” or “cream” the tahini, making the hummus smooth and creamy.
2Add the olive oil, minced garlic, cumin, and a 1/2 teaspoon of salt to the whipped tahini and lemon juice. Process for 30 seconds, scrape the sides and bottom of the bowl, and then process for another 30 seconds or until well blended.
3Drain the chickpeas. Then add half of the chickpeas to the food processor and process for 1 minute. Scrape the sides and bottom of the bowl, then add the remaining chickpeas and process them until thick and relatively smooth, 1 to 2 minutes.
4The hummus will likely be too thick and still have tiny bits of chickpea. To fix this, slowly add 2 to 3 tablespoons of cold water or aquafaba with the food processor turned on until you reach the perfect consistency.
5Taste and adjust as needed. Serve hummus with a drizzle of olive oil and a sprinkle of paprika, sumac, or Za’atar.
6Store homemade hummus in an airtight container and refrigerate for up to one week. Freeze, covered with a thin layer of olive oil, for up to one month.
Adam and Joanne's Tips
- How to cook dried chickpeas: Use canned or home-cooked chickpeas for this recipe. Here is how we cook dried chickpeas.
- Hummus without tahini: For the best hummus, which rivals our favorite store brands, use tahini. However, a chickpea puree without it is still quite delicious. Just add more olive oil. Another option is to use natural, unsweetened, creamy peanut butter in its place.
- If you like garlicky hummus, increase the garlic by a clove or use roasted garlic.
- Aquafaba for fluffy hummus: This is the thick starchy liquid in a can of beans (or the bean cooking liquid). You can use this instead of water in the last step of the recipe. Instead of plain water, add a splash of aquafaba at the end. As it whips, it creates an incredibly light and airy texture. Taste your aquafaba first. If it’s too salty, use less salt when making your hummus.
- Tahini & lemon juice are not creaming: Depending on your food processor, the blade might not come into contact with the tahini and lemon juice. You need to increase the amount of liquid in the food processor, so add the olive oil. If they still do not cream, add a tablespoon of cold water.
- Blender: A food processor is best for making hummus, but a high-powered blender will work. Be sure to scrape the sides down a few extra times as you make it.
- The nutrition facts provided below are estimates.



This recipe is my favourite hummus recipe, I make it often and my kids love it!
I’ve always added my chickpeas straight off the stove after boiling them. My hummus usually inly stays feessh for 2-3 days. Do you think that adding the heat turns the garlic or lemon juice sooner? Would love to find a way to extend its shelf life.
Thank you for publishing this recipe. I’ve been searching for a good hummus recipe for years and none came out well. I added more aquafaba because I don’t use oil and it turned out great. It never occurred to me that the order in which you blend the ingredients could make such a difference.
The recipe is great. I doubled it and added half a cup each of giardinera and kalamada olives and pulsed it into the hummus. Yummy
Is Easy Hummus Kosher?
Hi Michael, We recommend checking the packages of each ingredient to see if it indicates whether or not they are kosher. If that is not an option, we recommend asking a rabbi or local Jewish community leader.
I love hummus. I have bought several varieties, but this will be my go to from now on. I followed the directions to a T. I added sliced green olives stuffed with blue cheese. Heaven! So Good!